Table of Contents
Basic cutout methods often cut off strands of hair, leave hard edges, or leave behind stray background colors? Don’t worry! Today, we’re sharing 2 practical Photoshop techniques for cutting out hair from portraits.
Method 1: Select and Mask + Refine Edge Brush
Traditional Photoshop Method
This is Photoshop’s native professional hair selection method. It involves manually refining edge details, allowing for precise handling of most portrait hair cutout scenarios. It’s especially suitable for users who want a solid grasp of Photoshop skills.
Step-by-Step Guide:
- Open the Image + Make an Initial Selection of the Subject: Import your portrait into Photoshop and unlock the background layer (double-click the layer or press
Ctrl+J/Cmd+Jto duplicate). First, use the Quick Selection Tool (Shortcut:W) to brush over the main subject (face, body) to create a rough selection. Don’t worry about the hair details initially; just get the main outline.
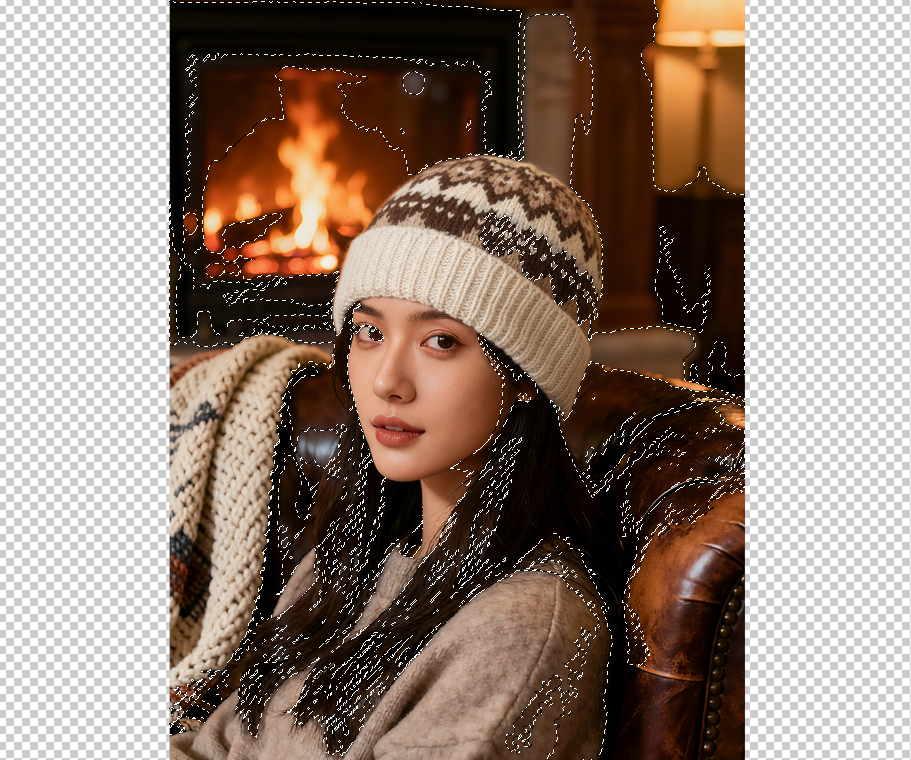
- Enter the “Select and Mask” Workspace: Right-click on the selection and choose Select and Mask (or press
Alt+Ctrl+R/Option+Cmd+R) to open the refinement window.
- Adjust the View Mode: At the top of the workspace, choose a view mode (we recommend Overlay or On Layers). This helps you see the boundary between the hair and the background clearly.
- Use the Refine Edge Brush Tool on the Hair: In the toolbar on the left, select the Refine Edge Brush Tool. Adjust the brush size (according to hair thickness) and check Smart Radius at the top Gently brush along the hair edges. The tool will automatically detect hair strands, separating them from the background while preserving fine details.
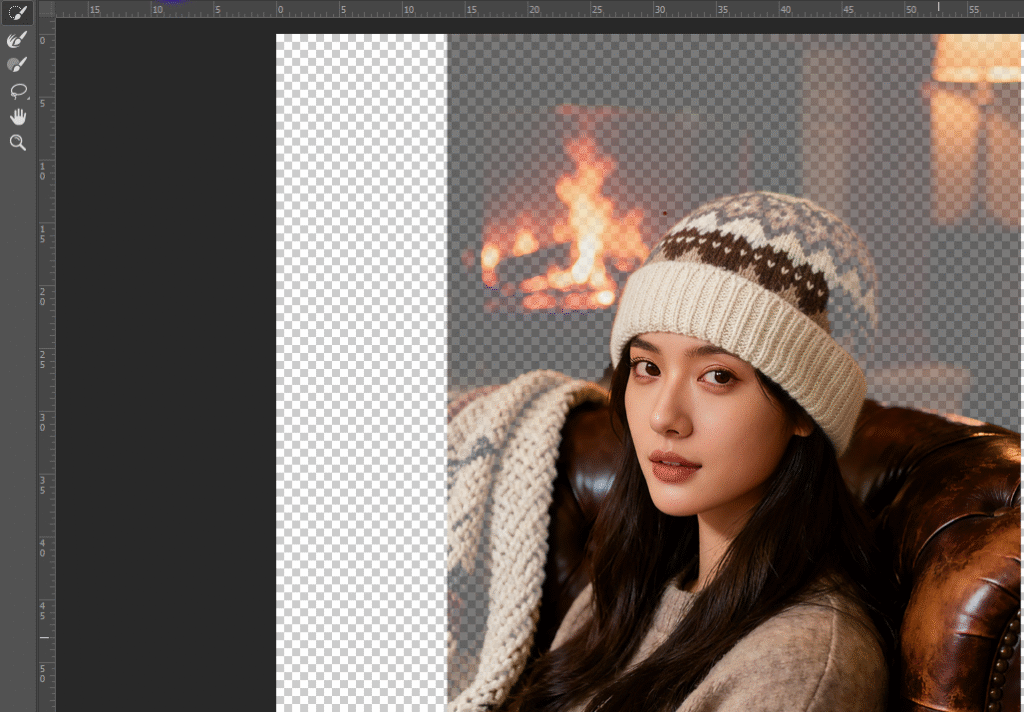
- Optimize Settings & Output the Selection: In the right-hand panel, adjust the Smooth, Feather, and Contrast sliders (e.g., Smooth: 1-2, Feather: 0.5-1 px, Contrast: 10-20%) for a more natural edge. If there’s background color fringing, adjust the Decontaminate Colors slider (10-30%).
- Refine the Layer Mask Details: Back in the Layers panel, select the generated layer mask. Use a black brush to paint over any remaining background traces, and a white brush to restore any accidentally erased hair. This final step ensures clean, natural-looking hair edges.
Tip: This method requires patience to adjust the brush strokes and parameters. It’s great for single-portrait cutouts where you need precise control over every strand but is more time-consuming and requires practice.
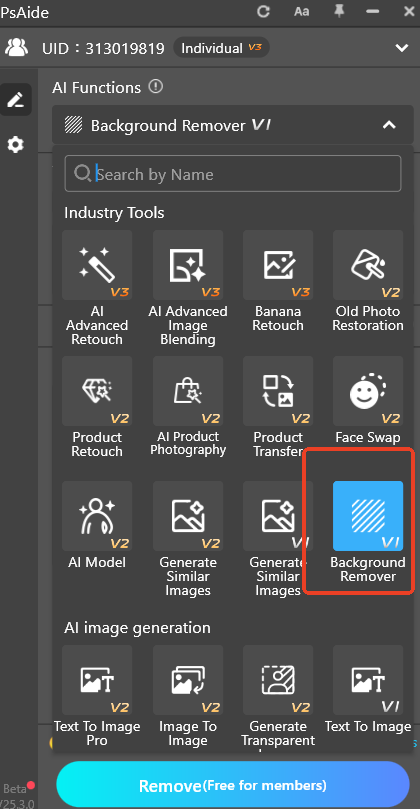
Method 2: AI-Powered Hair Cutout! Psaide Plugin – One-Click Magic
(The Efficiency King, Zero Hair Mistakes)
For fast hair selection or when dealing with complex hairstyles like wispy flyaways, tight curls, or voluminous hair—where manual work is slow and results can be inconsistent—the Psaide plugin for Photoshop uses AI to accurately separate hair from the background in one click, saving both time and effort.
Step-by-Step Guide:
- Install & Activate the Plugin: Ensure the StartAI plugin is installed in Photoshop (compatible with Photoshop CC2015 and newer on Windows/Mac). First-time users can register quickly and easily—even beginners can get started fast.
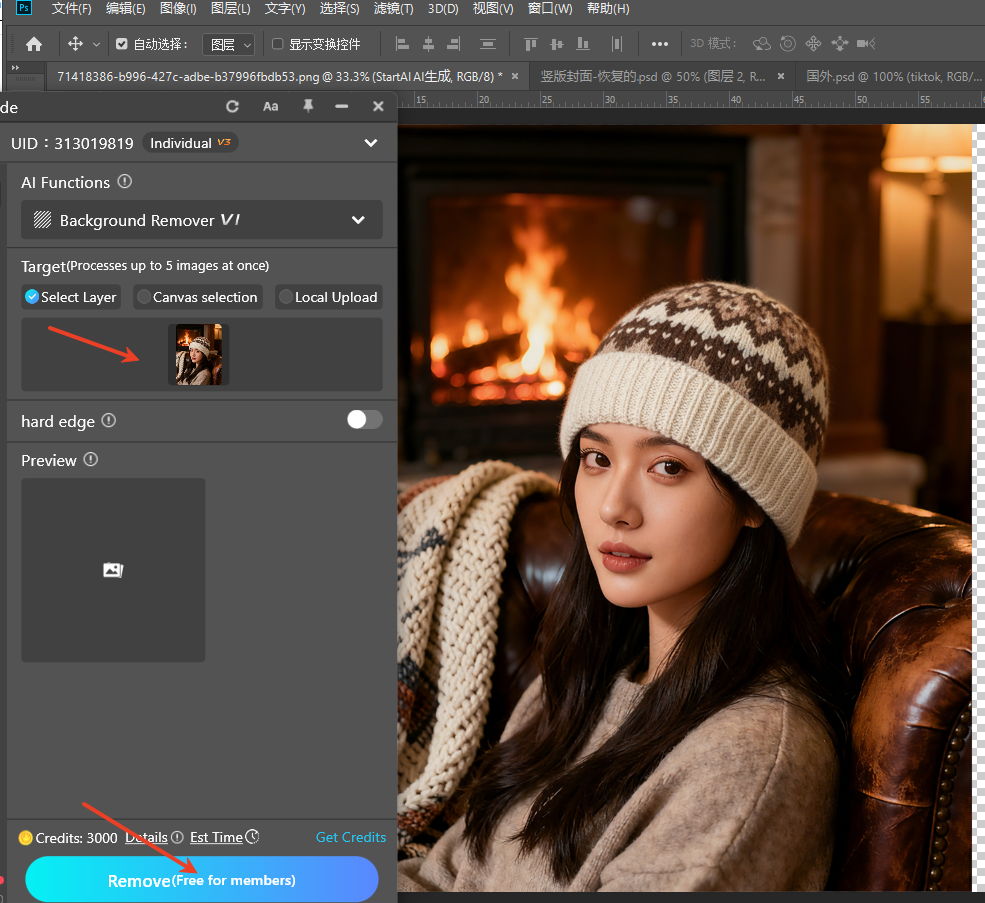
- Select the Portrait Cutout Function: Open your portrait in Photoshop. Find the Psaide panel (usually on the left) and click on Portrait Cutout. The plugin will automatically detect the body outline, with special focus on optimizing hair areas.
- Generate the Perfect Cutout with One Click: Click the function button. The AI will analyze the image in 3-5 seconds, accurately identifying every hair strand—including fine wisps and curly textures—and perfectly separating the hair from the background while preserving its transparent quality and natural layers. No manual adjustments are typically needed.
- Fine-Tune if Needed (Optional): If minimal background artifacts remain, you can use the plugin’s built-in Edge Refinement tool or return to the Photoshop layer mask and touch it up with a brush for a flawless final result.

The core challenge in cutting out hair is “preserving strand detail + achieving natural edges.” The traditional Photoshop method helps you understand the principles, great for simpler hairstyles. However, for complex hair or bulk editing tasks, the Psaide plugin’s advantages are clear—it saves immense time and avoids manual errors, making professional-level hair cutouts simple and fast.
Download link
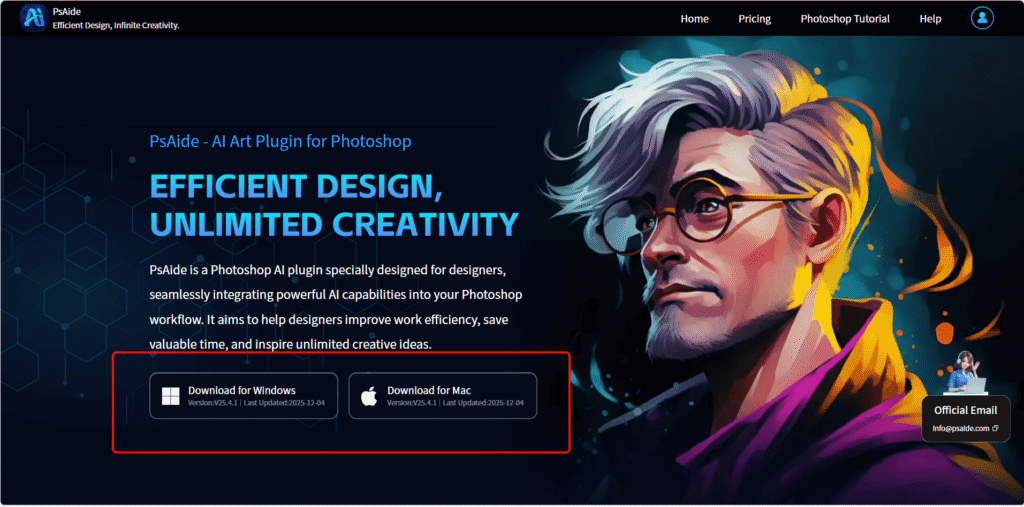
https://psaide.com/?sfrom=A86R4u
Invitation Code: A86R4u