Table of Contents
1. The Footwear Replacement Challenge & Practical Solutions
Q: Why is replacing shoes on a model so difficult in traditional Photoshop?
A: Footwear sits at a complex intersection of lighting, perspective, and texture. Manually matching a new shoe to the model’s pose requires adjusting its angle, recreating realistic shadows on the ground, and blending its material sheen with the scene’s lighting—a process prone to errors.
Q: Can AI handle these subtle details like leather reflection and floor shadows?
A: Yes. Nano Banana analyzes the spatial relationship between the foot and the ground, understands the original light source’s direction and intensity, and can simulate how materials like polished leather would reflect that light, creating a natural composite.
2. The Strategic Advantage of Red Marking
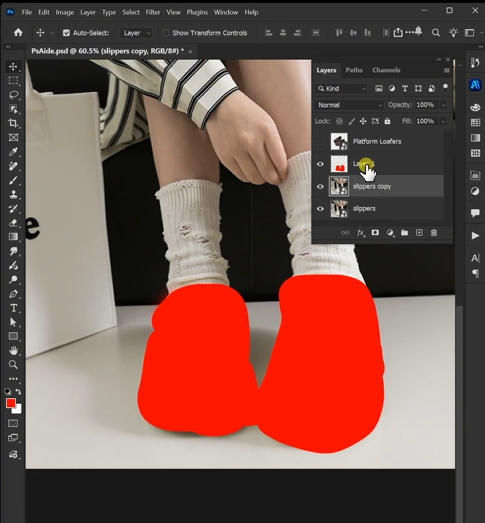
Marking the existing shoes with a solid red color is a simple but powerful preparatory step. It creates a high-contrast, unambiguous target for the AI, directly answering the question: “What should I replace?” This eliminates guesswork when the shoes are a similar color to the pants or background, ensures the AI focuses only on the footwear area, and often results in cleaner edge detection and faster, more accurate generation.
3. What You’ll Need
- Adobe Photoshop with PsAide plugin installed.
- Click to get
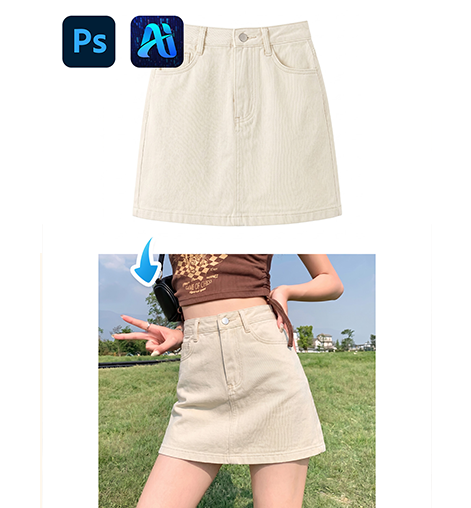
- A full-body or lower-body model photo.

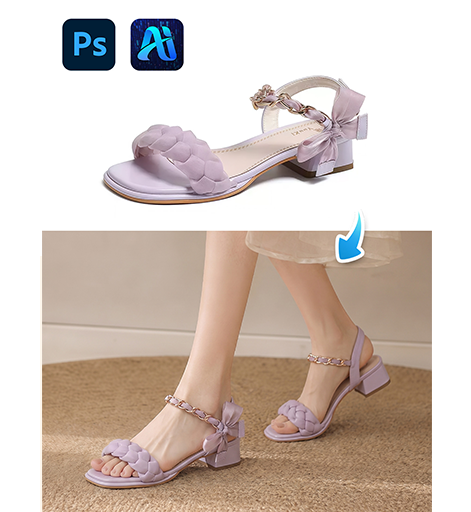
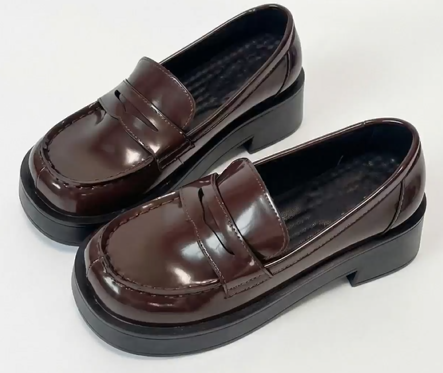
- A clear image of the replacement dress shoes/loafers.
- About 2-3 minutes total.
4. The 3-Step Shoe Replacement Process
Step 1: Prepare Images with Targeted Marking
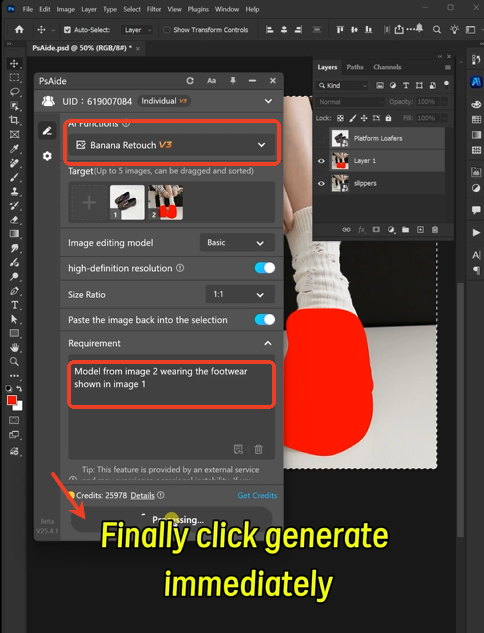
Open both your model photo and the new shoe image in Photoshop. On a duplicate layer of your model photo, use the Lasso Tool to draw a rough selection around the existing shoes. Fill this selection with a bright, solid red color (RGB: 255, 0, 0). This marks the precise area for replacement.
Step 2: Upload and Instruct the AI
Launch Nano Banana from the PsAide panel. Upload your two prepared images:
- Image 1: Your replacement dress shoe/loafer image.
- Image 2: Your model photo with the shoes marked in red.
In the prompt box, provide a clear instruction:
“Model from image 2 wearing the footwear shown in image 1, with matching perspective and lighting.”
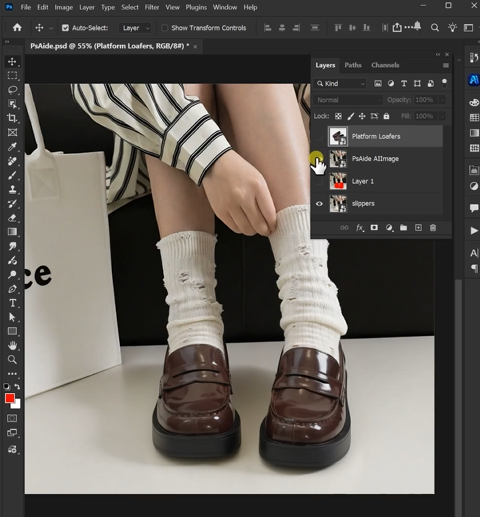
Step 3: Generate a Perfectly Integrated Result
Click “Generate.” In about 30-45 seconds, the AI will: identify and remove the red-marked shoes, position the new footwear to match the model’s foot angle and pose, adapt its lighting and shadows to blend with the original scene, and render a cohesive image. The final result will look as if the model was photographed wearing the new shoes.
5. Professional Applications & Tips
This method is ideal for:
- Fashion E-commerce: Showcasing multiple shoe options with the same outfit.
- Marketing Campaigns: Testing different products in a lifestyle shot.
- Content Creation: Quickly updating photos for seasonal trends.
Pro Tip: For formal shoes like loafers or oxfords, ensure your replacement image shows a similar viewing angle to the model’s feet in the original photo. This gives the AI the best reference material for achieving a perfectly matched perspective.
Download link
https://psaide.com/?sfrom=A86R4u
Invitation Code: A86R4u
Click here to discover more usage tips and in-depth information on Nano Banana Pro!