Table of Contents
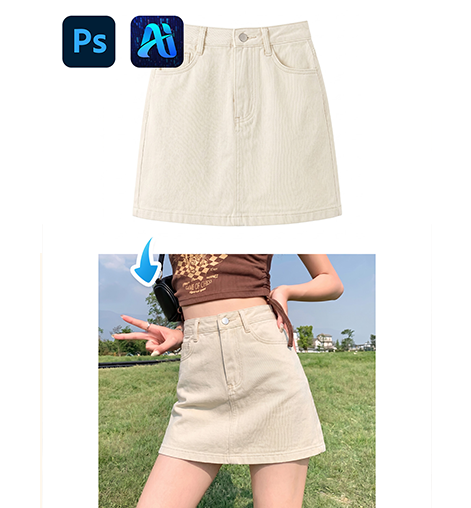
In image editing, when the background and foreground colors are similar, traditional Photoshop methods for background remover often lack precision. Fortunately, the PSAide plugin utilizes AI technology to provide a more efficient and accurate way to remove backgrounds in Photoshop.
Today, we will guide you step by step on how to combine Photoshop preprocessing and the PSAide plugin to efficiently complete background remover tasks.
1. Use Photoshop for Image Preprocessing
we need to perform some basic Photoshop preprocessing to ensure optimal results.
1.1 Adjust Image Contrast
Adjusting the contrast helps make the difference between the background and the foreground more noticeable, which aids the plugin in distinguishing the two.
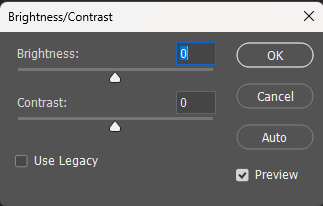
①Open your image, go to Image > Adjustments >Brightness /Contrast.
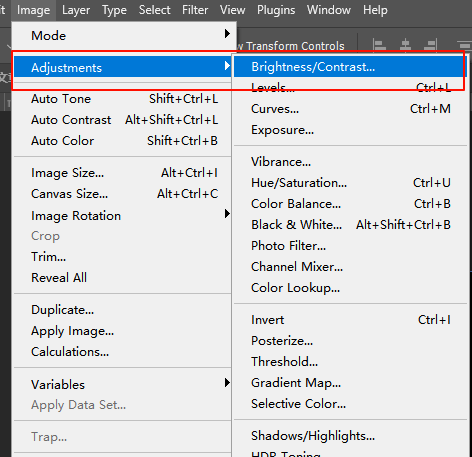
②Increase the contrast to make the color difference between the foreground and the background more apparent.
1.2 Use the Curves Tool to Enhance Edge Contrast
If adjusting the contrast doesn’t sufficiently differentiate the foreground from the background, you can use the Curves tool to further enhance the contrast.
①Go to Image > Adjustments > Curves.
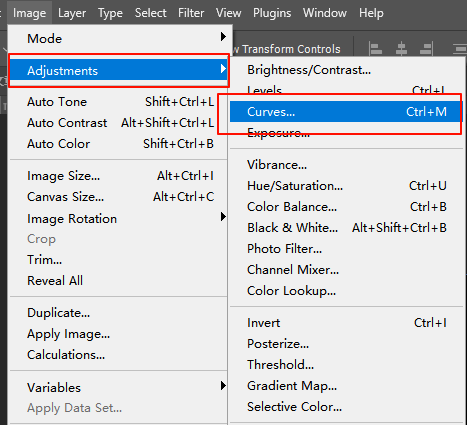
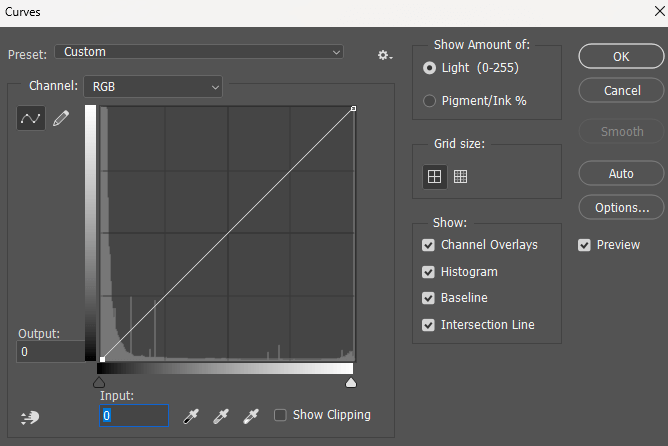
②In the Curves panel, adjust the RGB curve to slightly deepen the shadows and brighten the highlights, making it easier to differentiate the foreground from the background.
These steps will help enhance the contrast between the foreground and background, ensuring that the PSAide plugin can perform more effectively during background remover.
2.Use the PSAide Plugin for Precise Background Remover
After preprocessing the image in Photoshop, we can now proceed with PSAide plugin to perform the background remover.
2.1 Install the PSAide Plugin
If you haven’t already installed the PSAide plugin, you’ll need to download and install it first:
①Visit the PSAide official website and download the plugin.
②After installation, open Photoshop and access the PSAide plugin through the Plugins menu.
2.2 Launch the PSAide Plugin and Automatically Generate the Selection
①In the PSAide plugin panel, open the Background Remover and click the “Generate Now” button.
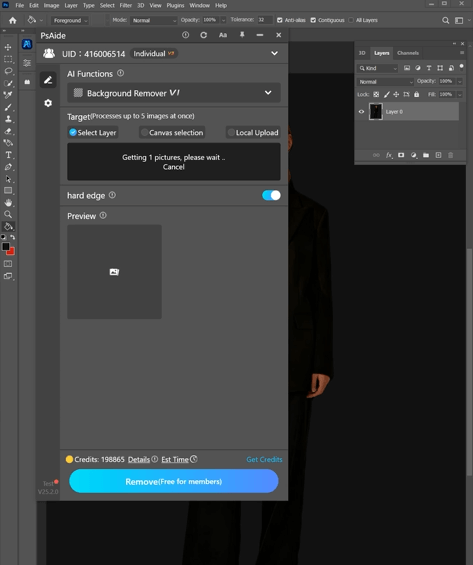
②The plugin will automatically analyze the image and identify the foreground and background.
③Using AI technology, the plugin will quickly generate an accurate selection, even if the foreground and background colors are similar, ensuring a precise separation.
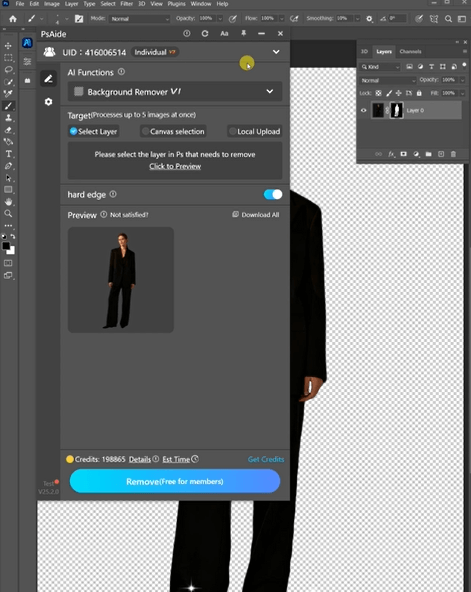
2.3 Export the Background-Removed Image
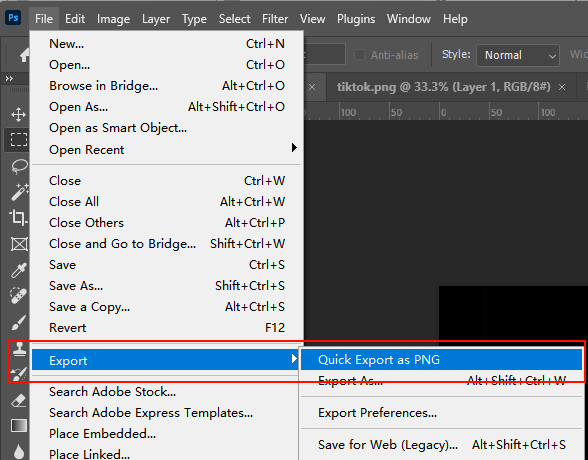
Once the background has been successfully removed, you can export the result as a transparent PNG file or any other format you require:
①Press Ctrl + Shift + S (Windows) or Cmd + Shift + S (Mac) to open the “Save As” window.
②Choose the PNG format, ensuring the “Transparent Background” option is selected.
③Click Save, and your background remover is complete.
3. Perfect Combination of Photoshop Preprocessing and PSAide Plugin
By using Photoshop preprocessing in combination with the PSAide plugin, you can significantly improve the speed and precision of your background remover tasks.
The preprocessing steps help enhance the contrast between the foreground and background, while the PSAide plugin, utilizing AI technology, precisely separates the foreground and background, resulting in flawless background remover.

If you’re looking for a fast and accurate way to remove backgrounds, try combining Photoshop preprocessing with the PSAide plugin and make your image editing workflow more efficient and effortless.
Download Link: https://psaide.com/?sfrom=ZfhxUK
Invitation Code: ZfhxUK