Table of Contents
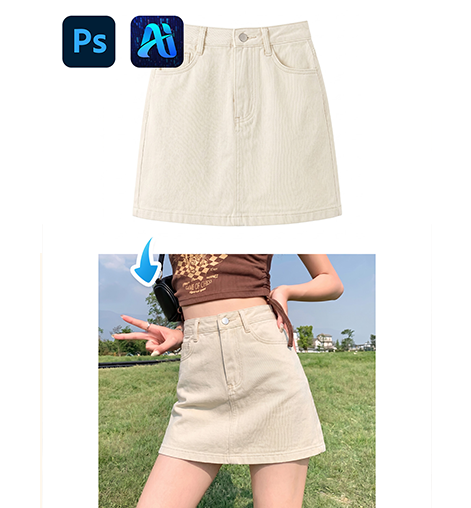
Cutting out subjects from backgrounds is a common task in Photoshop, especially when extracting people, animals, or products from complex scenes. The key to a professional result lies in achieving natural, seamless edges—no harsh lines or obvious artifacts.
1. Quick Selection with the Magic Wand Tool
The Magic Wand Tool is one of Photoshop’s most popular selection tools, ideal for images with solid or high-contrast backgrounds. Feathering the selection is the secret to avoiding stiff edges.
Step-by-Step Process
Step 1: Select the Magic Wand ToolOpen your image in Photoshop and choose the Magic Wand Tool (shortcut: W). Adjust the Tolerance value to 20–30.
Step 2: Select the Background and Invert the SelectionClick on the background area—the Magic Wand Tool will automatically select all matching color regions. Press Ctrl + Shift + I to invert the selection, so your subject is now highlighted instead of the background.

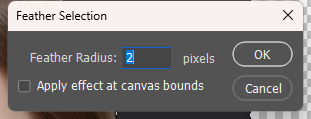
Step 3: Feather the SelectionTo create a natural edge transition, press Shift + F6 to open the Feather Selection window. Set the Feather Radius to 1–2 pixels. This softens the selection edge, blending it smoothly with the background when you cut out the subject.
Step 4: Copy to a New LayerPress Ctrl + J to copy the selected subject to a new layer. Hide the original background layer, and your basic cutout is complete.
Pro Tip: The Magic Wand Tool works best for simple backgrounds. For images with intricate details like hair or fur, additional edge refinement will be needed.
2. Efficient Cutout with PsAide’s Background Remover Feature
For fast, precise results with perfectly natural edges, PsAide’s Background Remover is the ideal solution.
Adobe Photoshop(2015+) with the PsAide plugin.
Step-by-Step Process

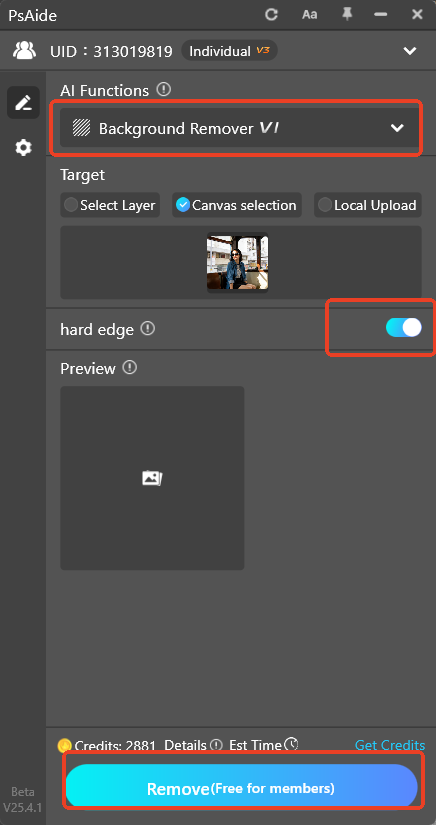
Step 1: Install and Launch PsAideEnsure the PsAide plugin is installed in Photoshop. Launch the plugin and select the “Background Remover” function.
Step 2: Import Your Image and Select the Entire CanvasClick the “Open Image” button to load your cutout target. Then click “Select Entire Image”
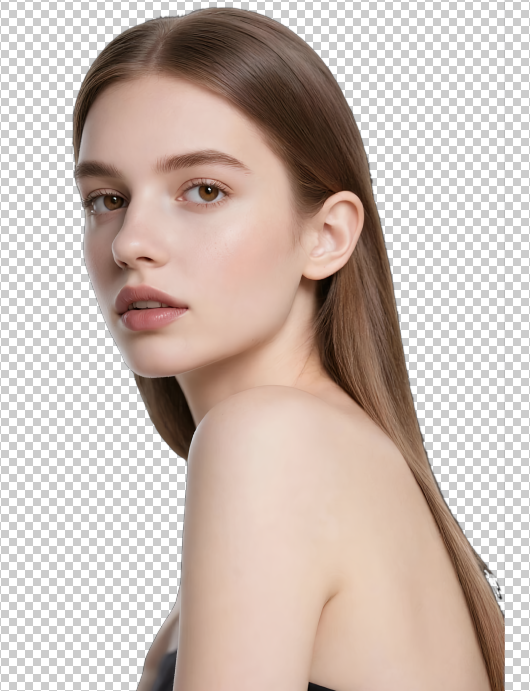
Step 3: Enable Hard Edge Mode (Optional) and Start Cutting OutBy default, PsAide applies a subtle feather effect to ensure smooth edge transitions. For sharper edges, toggle on the “Hard Edge” button. With the default mode on, the AI automatically refines fine details like hair strands. Click the “Cut Out” button, and PsAide will remove the background and optimize edges in seconds.
Core Advantages
- AI-Powered Edge Optimization: Eliminates over-sharpening, a common flaw in traditional Photoshop cutout methods.
- User-Friendly Operation: Achieve high-quality cutouts in just a few clicks, perfect for fast-paced workflows.
- Precision in Details: Effortlessly handles complex elements like hair or fur, ensuring edges look natural and realistic.
Whether you opt for the traditional Magic Wand Tool or the efficient PsAide Background Remover, choosing the right technique will help you achieve seamless cutout edges in Photoshop. The PsAide Background Remover is particularly suited for users who need fast, accurate results—especially when working with detailed subjects like hair or fur. Its AI-driven edge optimization takes the hassle out of manual refinement, letting you produce professional cutouts in minutes.
Download link
https://psaide.com/?sfrom=A86R4u
Invitation Code: A86R4u
Click here to discover more usage tips and in-depth information on Nano Banana Pro!