Table of Contents
Q&A: The ID Photo Background Challenge
Q: Why is manually removing backgrounds from ID photos so tedious?
A: Hair and fine detail complexity. Using tools like the Magic Wand or Quick Selection often leaves harsh edges around hair or misses fine strands, creating an unnatural “cut-out” look. Refining these edges manually with Select and Mask is time-consuming and requires skill to avoid a fake appearance.
Q: How does AI solve this perfectly for official photos?
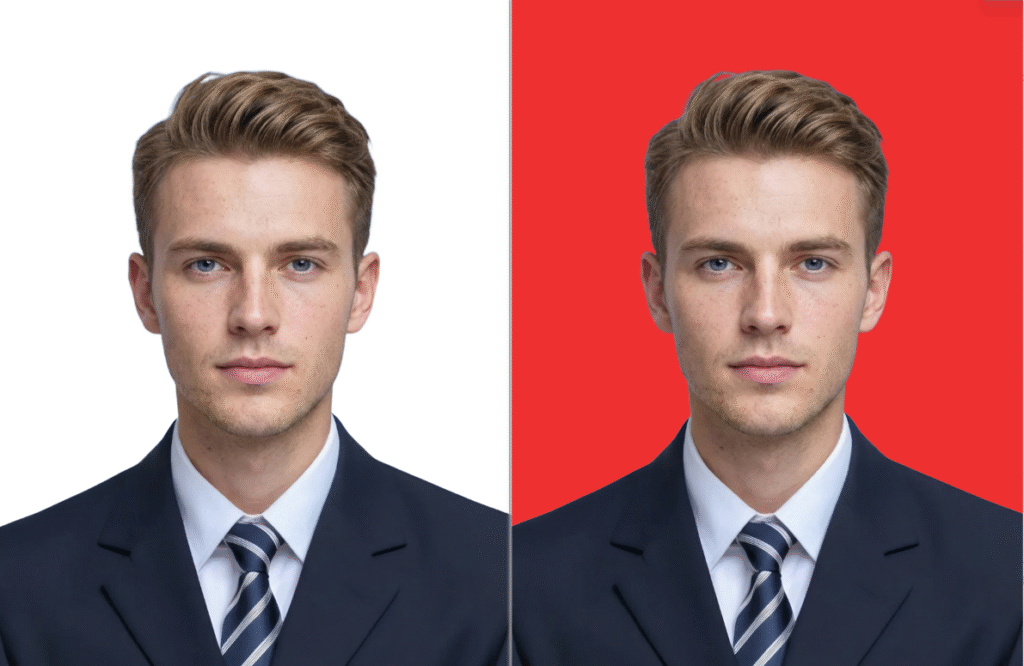
A: The Background Remover uses advanced edge detection trained specifically on portraits. It distinguishes between the hard edge of a shoulder and the soft, complex edge of hair, removing the background with pixel-level precision while preserving every strand. This creates a clean, natural-looking cutout perfect for official documents.
1. What Makes This Method Superior for Official Photos?
Unlike manual methods that can leave a colored “halo” or jagged edges, Background Remover ensures a clean, professional separation. This is critical for ID photos where inconsistent edges or leftover background pixels can cause rejection by automated application systems. The one-click result provides a flawless base for any required background color (white, red, blue, etc.).
2. What You’ll Need
- Adobe Photoshop with the PsAide plugin installed.
- Click to Download
- Your ID Photo: A standard, front-facing portrait against a simple background works best.

- Time: Less than 30 seconds.
3. The One-Click Background Change Process
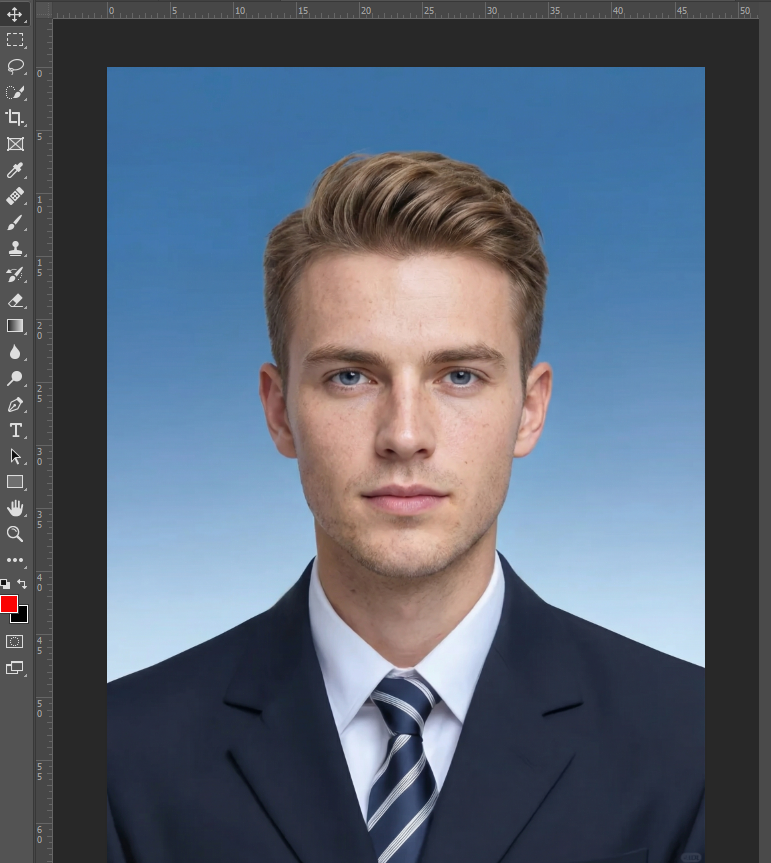
Step 1: Prepare Your ID Photo
Open your portrait in Photoshop. Ensure the photo meets standard ID requirements (good lighting, facing forward). No pre-selection is needed.
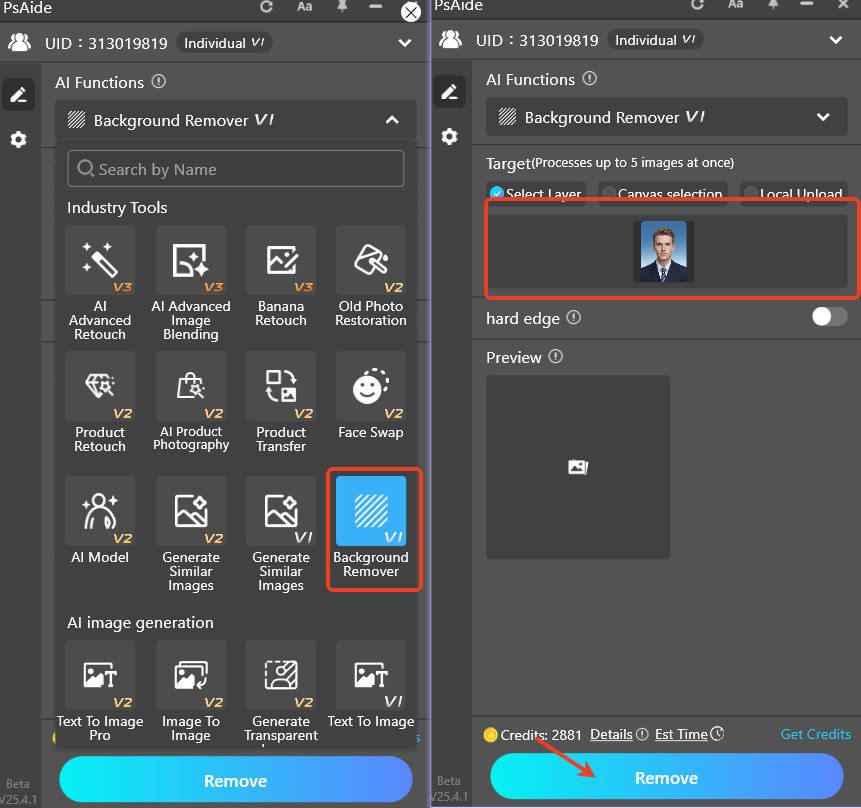
Step 2: Activate and Run the AI Tool
Navigate to the PsAide panel and select Background Remover. With your photo open, the tool is ready. Simply click the ‘Remove’ button. No settings to adjust—the AI automatically detects the person and separates them from the background.
Step 3: Add Your New Background Color
The AI will output a new layer with a transparent background in seconds.

- Create a new layer beneath your cutout layer.
- Use the Paint Bucket Tool (G) to fill this new layer with your required color (e.g., pure white
#FFFFFFfor most official documents, or red/blue for specific applications). - Save the final image as a PNG to preserve transparency, or as a JPG with your solid color background.
Pro Tips for Perfect ID Photos:
- Check Edges: Zoom in to 100% to ensure hair and shoulder edges are clean. The AI result is typically production-ready.
- Meet Specifications: Always check the specific size, resolution, and color code requirements (e.g., specific RGB values for “official red”) for your application before finalizing.
This one-click AI solution removes the biggest technical barrier in preparing ID photos, transforming a frustrating, skilled task into a fast, foolproof process that guarantees professional, compliant results.
Download link
https://psaide.com/?sfrom=A86R4u
Invitation Code: A86R4u