Table of Contents
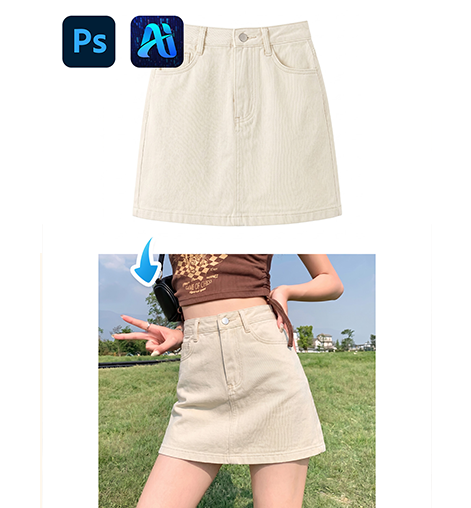
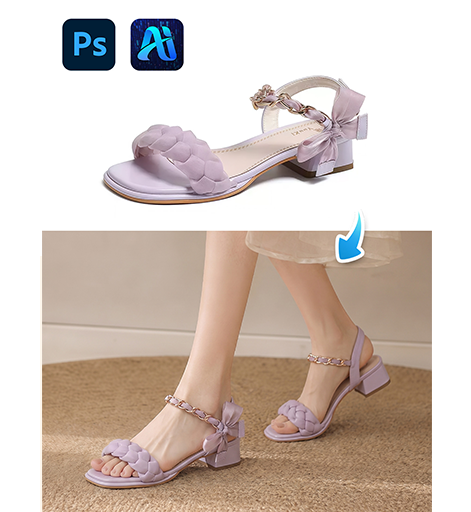
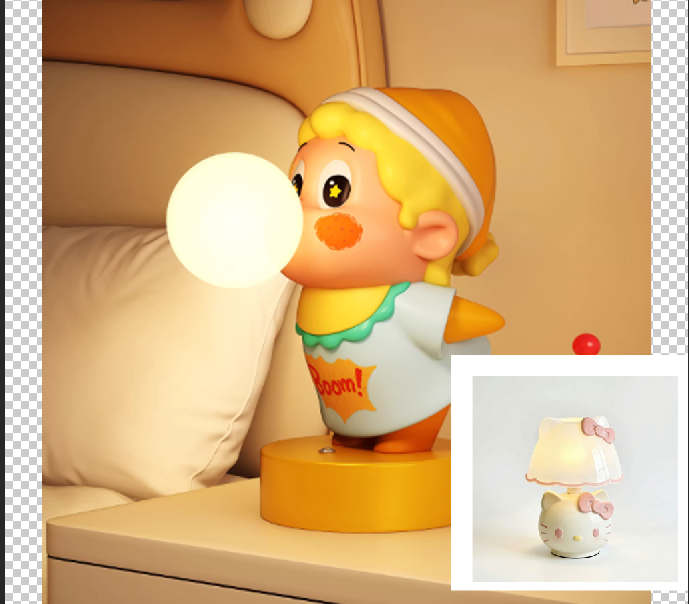
Blending images smoothly is essential in e-commerce retouching and scene design. For example, blending a white-background lamp image (Figure 1) into a scene (Figure 2) requires natural edge transition, matching proportion and unified lighting. However, traditional PS blending often leads to stiff edges, mismatched scale and unnatural looks, even with repeated adjustments. This article shares one traditional PS method and a more efficient Nano Banana Pro solution.
Method 1: PS Quick Selection + Layer Mask for Lamp Blending
Suitable for basic blending, but requires professional masking skills.
Steps:
- Open PS, import the scene image (Figure 2) and lamp image (Figure 1). Press Ctrl+J to duplicate layers.
- Use the Quick Selection Tool (W) to select the lamp, refine the selection with Alt, then copy the lamp to a new layer.
- Drag the lamp into the scene, use Ctrl+T to adjust size and position.
- Add a black layer mask, use a soft white brush (10–15% hardness) to blend edges.
- Adjust Curves and Color Balance to match lighting. Use the Blur Tool to soften seams.
Pain Points: Tedious, time-consuming (15–20 minutes per image), hard to control edge transition, easy to get wrong proportion and stiff edges.
Method 2: Nano Banana Pro – Natural Edge Blending
Powered by AI recognition and light fusion, Nano Banana Pro automatically creates smooth edges and perfect proportion without complex masking.
Step 1: Mark the position in PS
Open the scene image in PS, use the Lasso Tool (L) to mark where the lamp should be placed. Fill the area with red to help AI locate.
Step 2: Adjust lamp proportion
Set the lamp layer opacity to 50–60%, drag it into the scene, use Ctrl+T to match the marked area.
Step 3: Launch Nano Banana Pro and generate
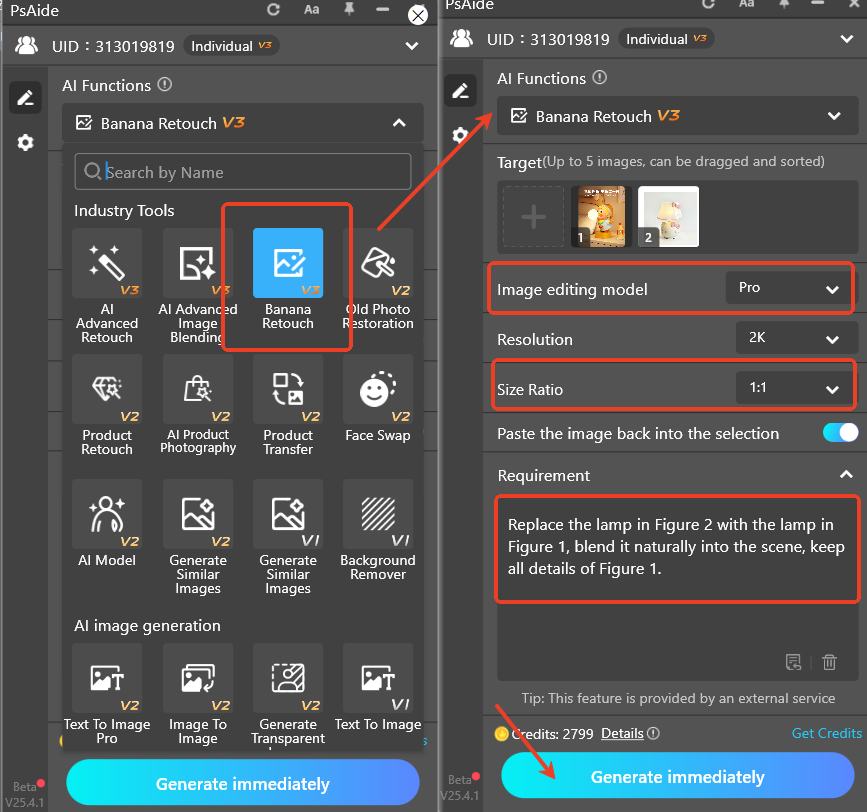
Open the Psaide plugin in PS (supports PS CC2015+, Windows/Mac). Select Nano Banana Pro, set ratio to 1:1.
Upload both images and enter the prompt:
“Replace the lamp in Figure 2 with the lamp in Figure 1, blend it naturally into the scene, keep all details of Figure 1.”
Click Generate. AI finishes in 15–20 seconds.
The lamp blends perfectly with smooth edges, correct proportion and unified lighting, ready for direct use.

Core Comparison
- PS Quick Selection + Mask: Complex, time-consuming, high skill threshold.
- Nano Banana Pro: One‑click, fast, AI‑powered natural blending, zero skills needed, ideal for e-commerce product compositing.
Want to blend two images with smooth natural edges in PS easily? Use PS + Psaide Nano Banana Pro for professional, seamless results.
Download link
https://psaide.com/?sfrom=A86R4u
Invitation Code: A86R4u