Table of Contents
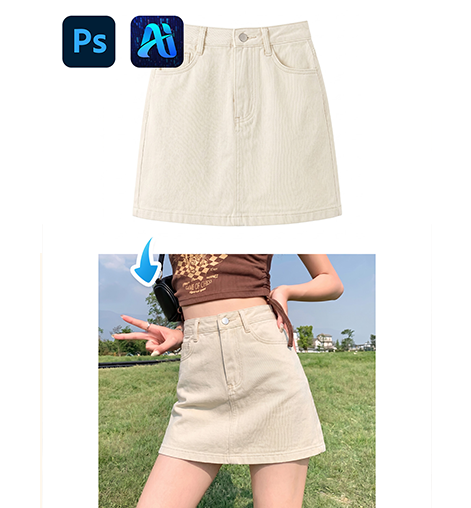
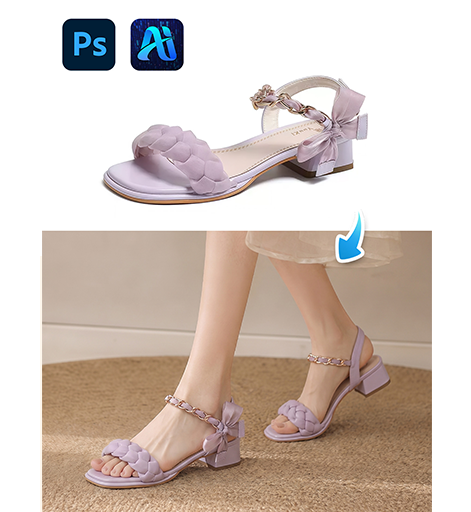
For e-commerce designers, 3C sellers and product designers, applying custom patterns or textures to phone cases, bags and electronics is essential for main images and product pages. However, manual texture mapping in native PS is extremely difficult: distortion, misalignment, unnatural lighting and stiff folds are common, and one image can take hours to finish.
For curved products like phone cases, manual editing requires Transform, Perspective and Liquify tools, which often cause stretching and misalignment. Matching light and material manually is also very hard for beginners.
Psaide Nano Banana Pro uses AI to automatically recognize product shape and curved surfaces, perfectly map patterns, match materials and unify lighting, solving all pain points of traditional PS texture mapping.

1.Pain Points of Native PS Product Texture Mapping
- Complex workflow and high skill barrier
- Patterns easily stretch, distort or misalign on curved surfaces
- Unnatural lighting and fake “pasted” look
- Extremely low efficiency, not suitable for batch work
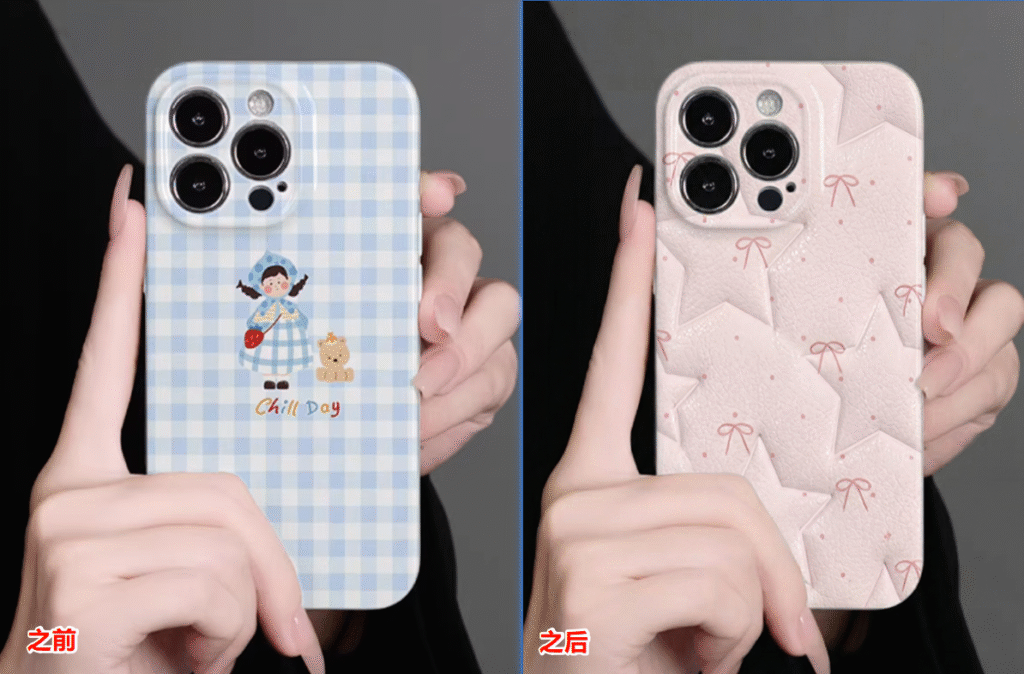
2.How to Apply Texture with PS + Nano Banana (Phone Case Example)
- Prepare materials
- Image 1: Your pattern or design file
- Image 2: Original product photo (phone case)
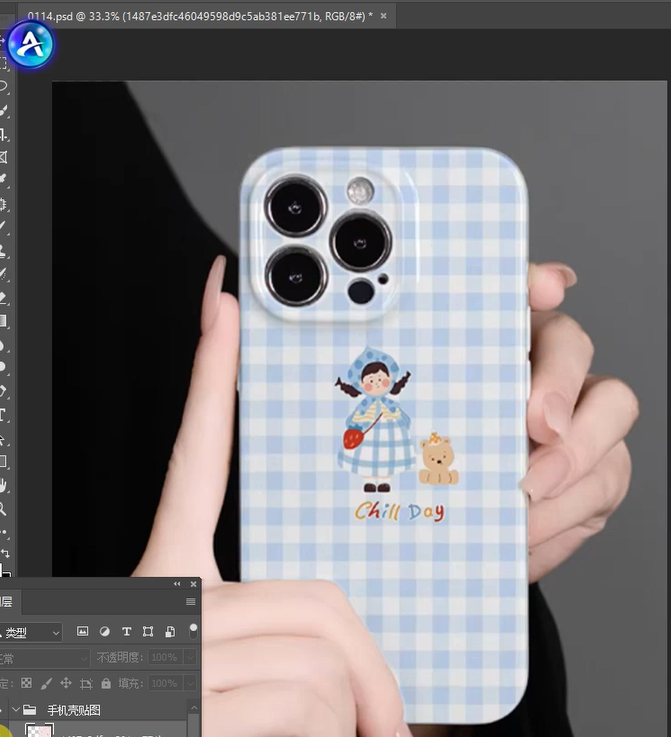
- Open plugin and set upOpen both images in PS and launch Psaide.Go to Nano Banana Retouch > Pro Version for better accuracy.Set the output ratio the same as the original product image.
- Upload images and enter prompt Upload the pattern (Image 1) and product image (Image 2).Use this prompt:Replace the pattern on the phone case in Image 2 with the pattern from Image 1, keep the same material and texture.
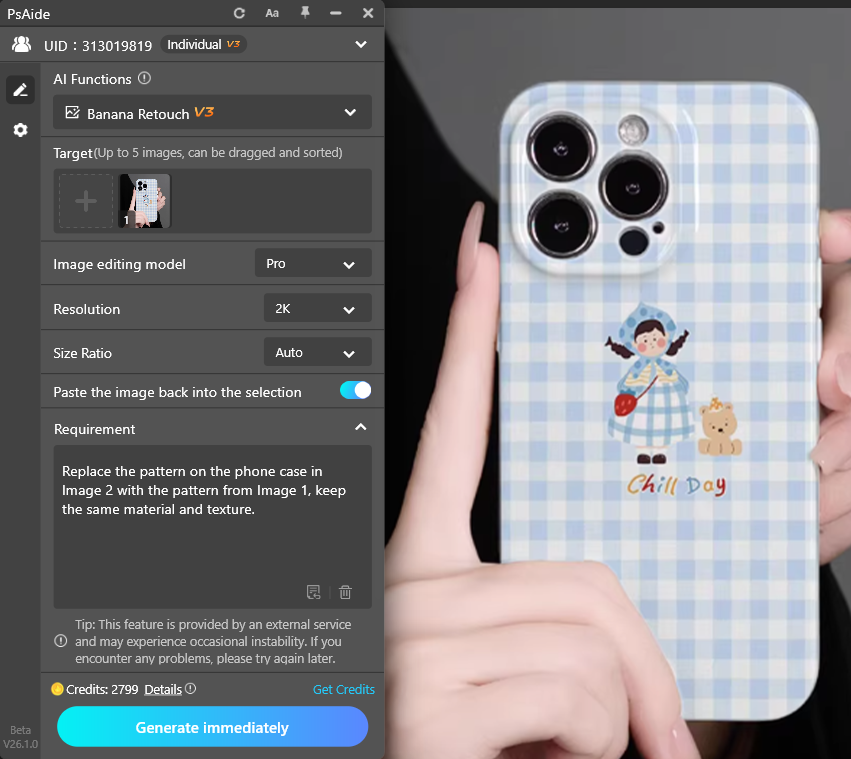
- Click Generate AI automatically:
- Recognizes the curved phone case area
- Fits the pattern naturally to the surface
- Matches original material, lighting and textureOutputs a high-definition, ready-to-use product image.
3.Common Issues & Solutions
- Pattern distorted or poorly fitted to curves
- Use Nano Banana Pro
- Keep output ratio the same as original image
- Unrealistic material or fake look
- Add to prompt: match material, natural fit, no pasted feeling
- Use pattern images with similar texture to the product
Create professional, realistic product texture mapping quickly with PS and Psaide Nano Banana Pro.
Download link
https://psaide.com/?sfrom=A86R4u
Invitation Code: A86R4u