Table of Contents
1、The Old Photo Restoration Problem
Every family has them. A box of old photographs tucked away in a drawer. The edges are curled. The surface is scratched. The colors have faded to sepia or yellow. Some have water stains. Others have tears.
You want to preserve these memories. You want to see your grandparents in their youth, in natural color. You want to share these restored images with your family.
But traditional restoration is out of reach.
Professional restoration costs hundreds of dollars per photo. Manual Photoshop work takes hours of careful cloning, healing, and painting. You need to learn complex tools. You need to guess what colors should be. You need to painstakingly preserve facial features while removing damage.
Most people never restore their old photos. The memories stay in the box. The damage gets worse over time.
There’s a better way. The Nano Banana Pro AI model inside Photoshop can restore damaged photos in seconds while preserving the unique identity of the people in them.
2、The Solution: Nano Banana Pro in 3 Steps
Here’s how to restore and colorize any damaged old photograph using AI inside Photoshop.
What You Need
- Adobe Photoshop with PsAide plugin
- One scanned old photo (300 DPI or higher recommended)
- 60 seconds
Step 1: Open Your Old Photo
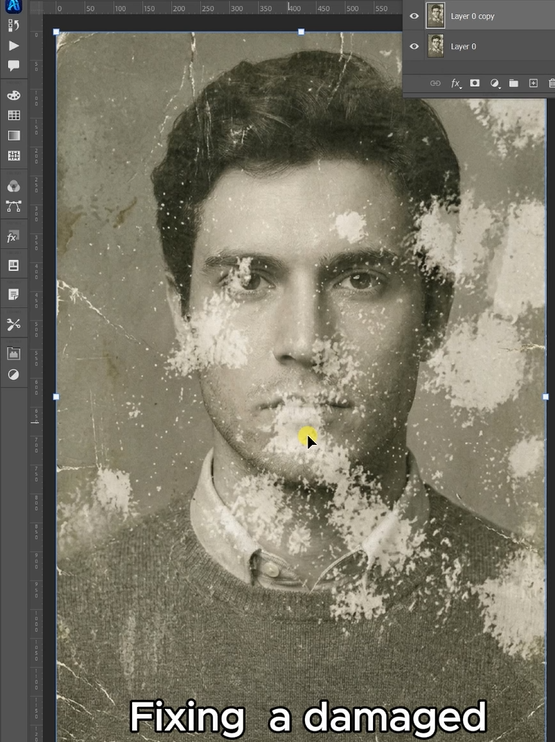
Launch Photoshop. Open your scanned vintage photograph. Don’t crop it. Don’t adjust the levels. Don’t try to “help” by cleaning it up first.
The AI needs to see the original damage — scratches, tears, fading, stains — to remove it properly. A clean scan at 300-600 DPI gives the best results.
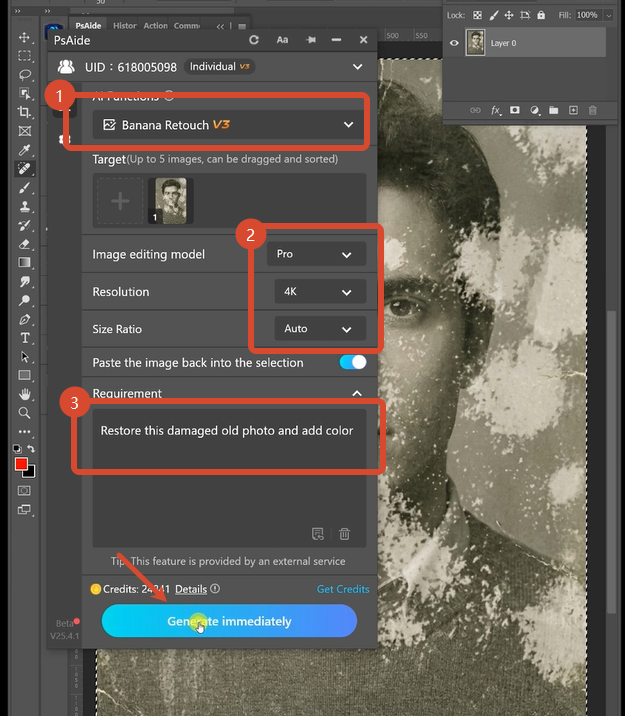
Open the PsAide panel. Launch Nano Banana and select the Pro version. Set output resolution to 4K — this preserves facial details and fine textures.
Upload your single image. Type this comprehensive prompt:
“Restore this damaged old photo and add color.”
Click Generate. Wait 60-75 seconds.
Step 3: Get Your Result
The AI processes your old photo. It removes scratches, dust spots, and surface damage. It repairs tears and reconstructs missing sections. It corrects fading and restores contrast. It adds natural, period-appropriate color to skin, clothing, and backgrounds. Most importantly, it preserves the subject’s facial identity — their unique features, expression, and likeness remain intact.
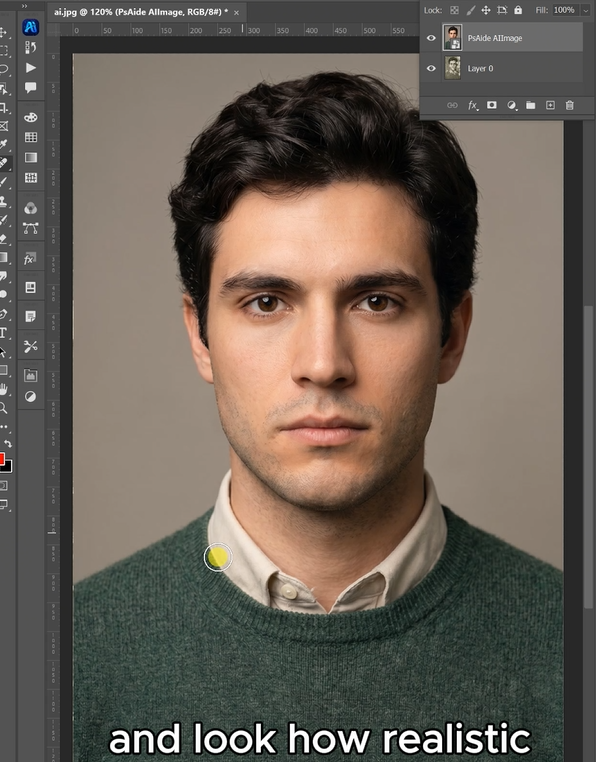
Your damaged, faded old photo is now restored and colorized. The person in the photo still looks like themselves. The colors look natural, not artificial.
3、Pro Tips for Perfect Old Photo Restoration
1. Scan at high resolution. 300 DPI is the minimum. 600 DPI is better. The AI needs detail to work with. Higher resolution scans yield better restoration results.
2. Don’t pre-edit your scan. Leave the scratches. Leave the stains. Leave the faded areas. The AI needs to see the original damage to remove it correctly.
3. Save your original scan. Keep the unedited file as a master reference. The AI generates a new restored image. You can always go back to the original.
4. Use 4K resolution for the best results. Higher resolution preserves facial features and small details. 2K is acceptable but 4K is recommended for family photos.
5. Identity preservation is key. The Pro version is specifically designed to maintain facial identity — eye shape, nose structure, expression, and unique features remain recognizable.
6. Be specific about color. If you want period-appropriate colors, add “with accurate period colors” to your prompt. If you prefer modern color treatment, specify that instead.
7. Batch processing. You can restore multiple photos in sequence. Each takes about a minute. Great for entire family albums.
8. For severely damaged photos. Run the restoration once. If needed, run the result through again. Two passes can handle extreme cases like large tears or heavy staining.
9. Check the result carefully. AI restoration is a powerful first pass, but it may sometimes smooth over fine details or misinterpret textures. If needed, use Photoshop’s manual tools for final adjustments.
4、Download link

https://psaide.com/?sfrom=A86R4u
Invitation Code: A86R4u