Table of Contents
1.The Challenge of Restoring History
Q: Can damaged old photos really be restored without expert skills?
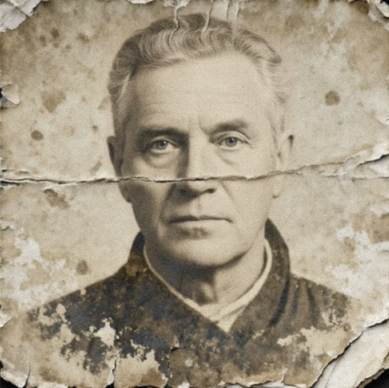
A: Absolutely. Vintage photos suffer from unique degradation: chemical stains, silver mirroring, physical tears, and extreme fading. Manual restoration requires hours of meticulous cloning and color correction, often stripping the image of its authentic character.
Q: How does AI preserve the photo’s historical feel?
A: The AI in Old Photo Restoration is trained to differentiate between damage to remove (scratches, spots, yellowing) and character to preserve (original film grain, period-appropriate tones, natural textures). It repairs the former while protecting the latter, maintaining the photo’s soul.
2.What You’ll Need
- Adobe Photoshop(2015+) with the PsAide plugin.
- Click to get
- A scanned copy of your old photo
- 30-60 seconds.
3.The One-Click Restoration Process
Step 1: Prepare Your Photo
Open your scanned photo in Photoshop. Ensure you’re working on the image layer you want to repair. No pre-processing is needed—the AI analyzes the image as-is.
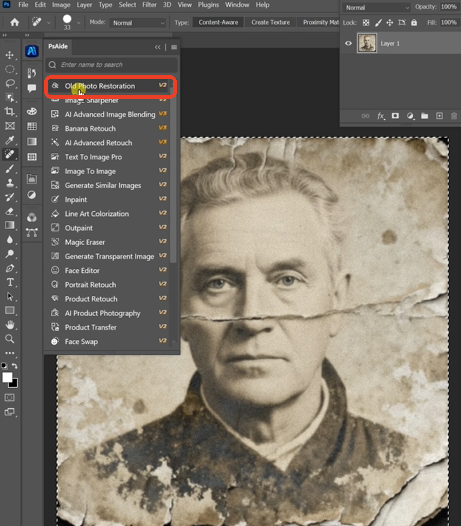
Step 2: Activate AI Restoration
In the PsAide panel, locate and select the Old Photo Restoration function. The interface is streamlined for simplicity. With your image layer selected, click the prominent “Generate.“ button. There are no complex sliders; the AI handles all adjustments automatically.
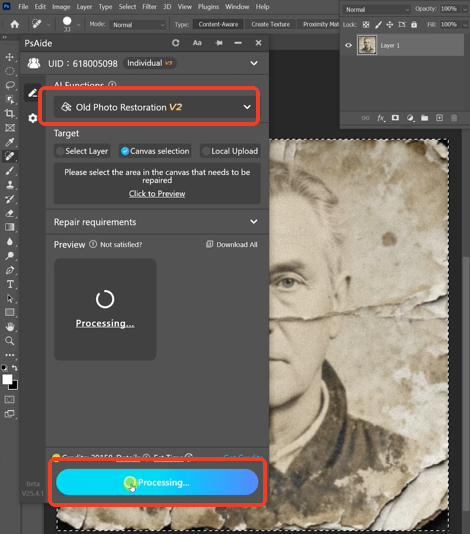
Step 3: Witness the Transformation
Click and wait. Within 20-40 seconds, the AI performs a comprehensive repair:

- Damage Removal: Detects and erases scratches, dust, and water stains.
- Tone Correction: Balances faded colors and corrects unnatural yellowing or sepia shifts.
- Detail Recovery: Gently enhances facial features and textures lost to time.
A new, restored version of your photo is generated, looking cleaner and clearer while retaining its historical authenticity.
4.Best Practices for Archival Quality
- Always Scan First: Never process the original physical photo. Use a high-resolution scan.
- Preserve the Original: The tool is non-destructive, creating a new restored layer and keeping your original scan intact.
- For Severe Damage: If a photo is in multiple pieces, scan each separately, combine them roughly in Photoshop, then use the tool for best results.
- Subtle Final Tweaks: The AI result is often complete. For perfection, use a Curves Adjustment Layer for minor contrast tweaks, but avoid over-editing.
This one-click solution makes photo restoration accessible to anyone, allowing you to preserve precious memories for future generations with authenticity and ease.
Download link
https://psaide.com/?sfrom=A86R4u
Invitation Code: A86R4u
Click here to discover more usage tips and in-depth information on Nano Banana Pro!