Table of Contents
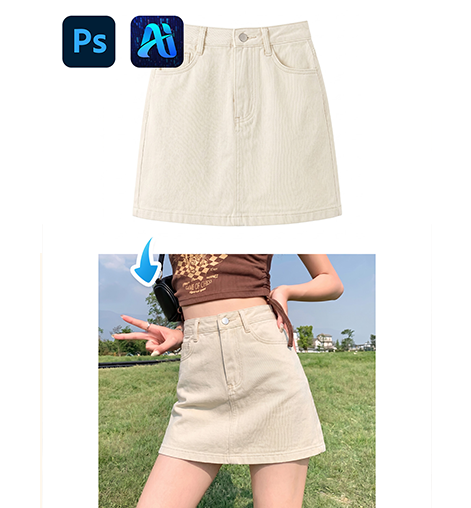
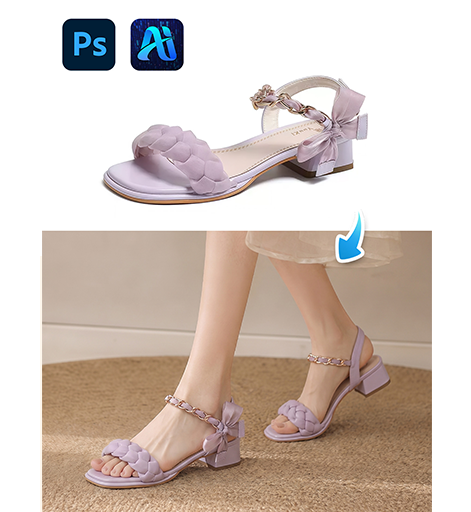
You have a T-shirt photo. The lighting is flat. The background is messy. There are wrinkles you don’t want. The collar is crooked. The fabric texture looks dull.
You need two things for your online store:
- A clean, retouched main image on a white background
- Detail shots showing the collar, cuffs, hem, and fabric texture
Traditionally, this requires hours of Photoshop work. Removing the background. Smoothing wrinkles. Adjusting collar shape. Then cropping and composing multiple detail images.
Most small brands skip the detail shots entirely. Their product pages suffer. Customers can’t see the quality.
1、The Solution: Two Prompts, One Workflow
Nano Banana Pro in Photoshop turns this multi-hour task into a two-step AI process. You start with one basic photo. You end with a complete set of professional product images.
Here’s exactly how.
2、Step-by-Step Instructions
What You Need
- Adobe Photoshop with PsAide plugin installed
- One T-shirt photo (any background, any lighting)
- 2-3 minutes total
Step 1: Retouch the Main Image
Open your T-shirt photo in Photoshop.
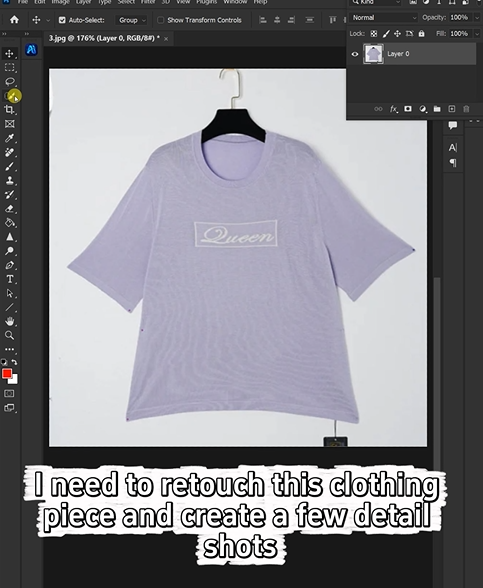
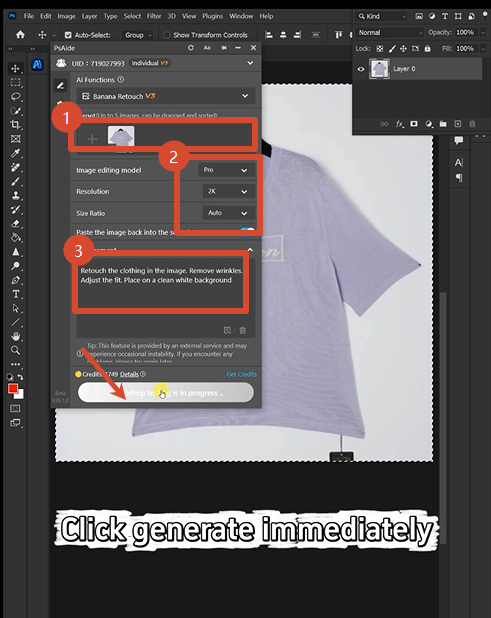
Launch Nano Banana from the PsAide panel. Select the Pro version. Set resolution to 2K (sharp enough for fabric details).
Upload your image. In the prompt box, type:
“Retouch the clothing in the image. Place on a clean white background.”
Click Generate. Wait 45-60 seconds.
The AI delivers a retouched T-shirt on a pure white background. Wrinkles are smoothed. Colors are balanced. The collar sits correctly. The fabric looks natural.
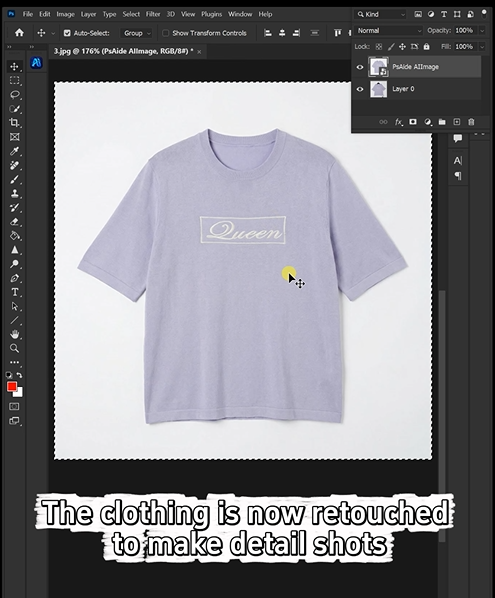
Your main product image is complete.
Step 2: Generate Detail Shots
Keep the retouched image on your screen. Don’t close it.
Open Nano Banana again. Select Pro version. Set resolution to 2K. Upload the same retouched image.
Now change your prompt to focus on details:
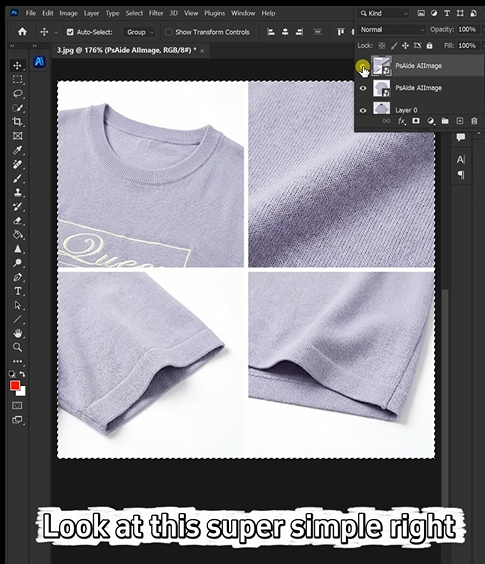
“White background detail shots showing the collar, cuffs, hem, and fabric texture.”
Click Generate. Wait 45-60 seconds.

The AI analyzes the T-shirt and creates a new image featuring close-up views of:
- The collar construction and stitching
- The sleeve cuffs and hem finish
- The fabric texture and weave pattern
All on a clean white background. All ready to use on your product page.
3、What You Get
After these two prompts, you have:
| Image Type | What’s Included | Use For |
|---|---|---|
| Main shot | Full T-shirt, retouched, white background | Product listing hero image |
| Detail sheet | Collar, cuffs, hem, fabric texture close-ups | Quality demonstration, zoom view |
No manual cropping. No background removal. No separate detail photography.
4、Pro Tips for Best Results
Start with decent lighting. The AI can fix many issues, but even lighting produces the best results. Natural daylight works well.
2K resolution is ideal. High enough for sharp fabric details. Fast enough for quick processing. 4K is unnecessary for web product photos.
Keep your original. Save the pre-edit photo as a separate file. You may want it for reference or different crops later.
Batch similar products. Once you have a prompt that works, use the same prompts for all your T-shirts. Consistent results across your catalog.
Detail shots work best on simple garments. Plain T-shirts yield cleaner detail images than heavily patterned ones. For patterned shirts, add “preserve print pattern” to your second prompt.
Save as PNG. White backgrounds stay cleanest when saved as PNG files. JPEG can introduce compression artifacts around edges.
5、Download link
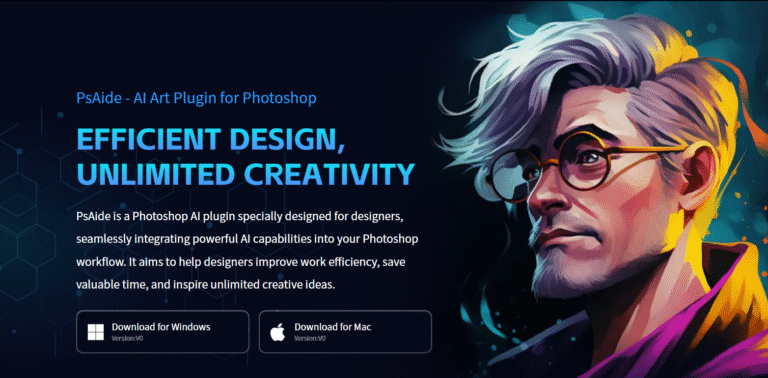
https://psaide.com/?sfrom=A86R4u
Invitation Code: A86R4u