Table of Contents
Turning a white background into a transparent one is widely needed in retouching, e-commerce and design. However, traditional PS methods often cause imprecise cutouts, white edges and tedious work, even for experienced users.
Method 1: PS Quick Selection Tool
(Simple White Backgrounds)
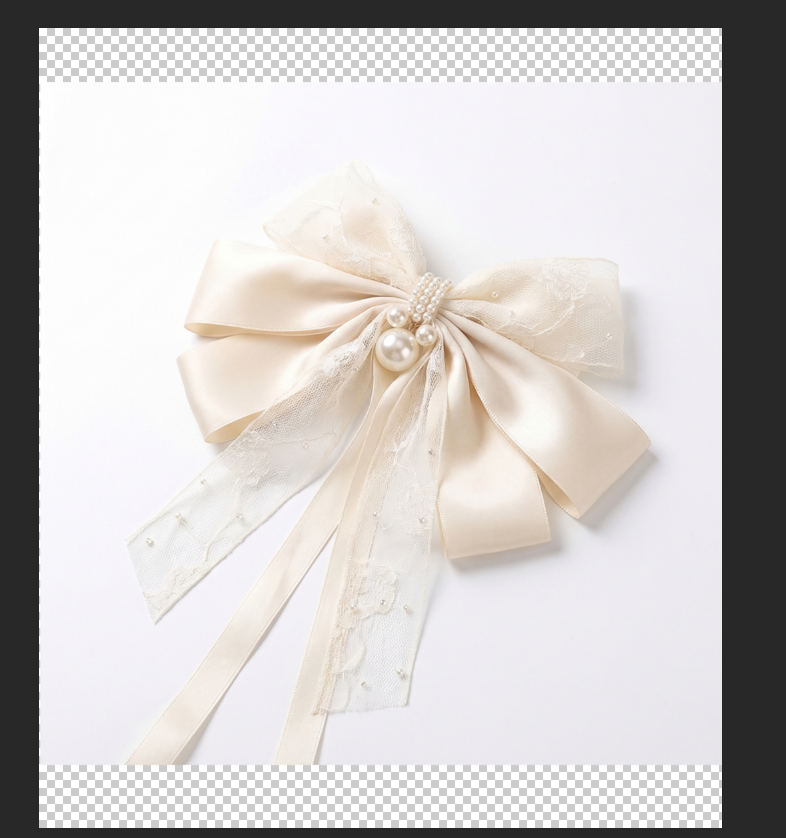
- Open the image in PS and duplicate the layer.
- Select the Quick Selection Tool (W) and pick the white background.
- Use Alt/Shift to refine the selection.
- Press Delete to remove the background.
- Clean edges and save as PNG.
Pain Points: Only works for clean white backgrounds; easy to leave white edges.
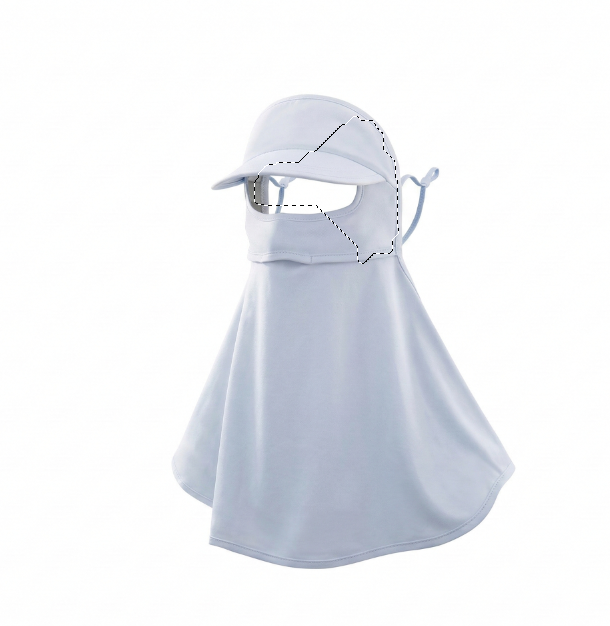
Method 2: PS Color Range + Refine Edge
(Complex White Backgrounds)
- Open the image and duplicate the layer.
- Go to Select > Color Range, pick the white background.
- Adjust Fuzziness and create a selection.
- Inverse selection, go to Select > Refine Edge to smooth edges.
- Duplicate the subject to a new layer and save as PNG.
Pain Points: Complex steps, hard to control for beginners, time-consuming.
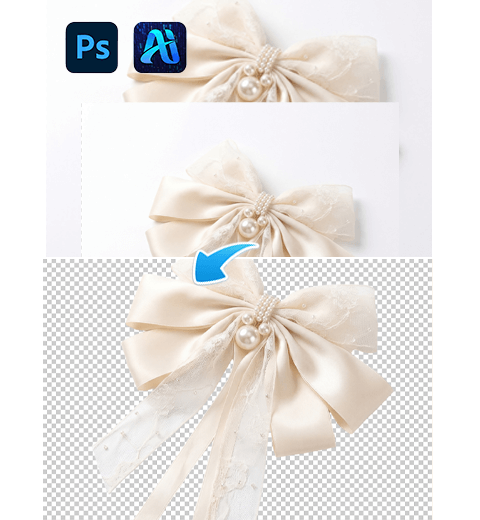
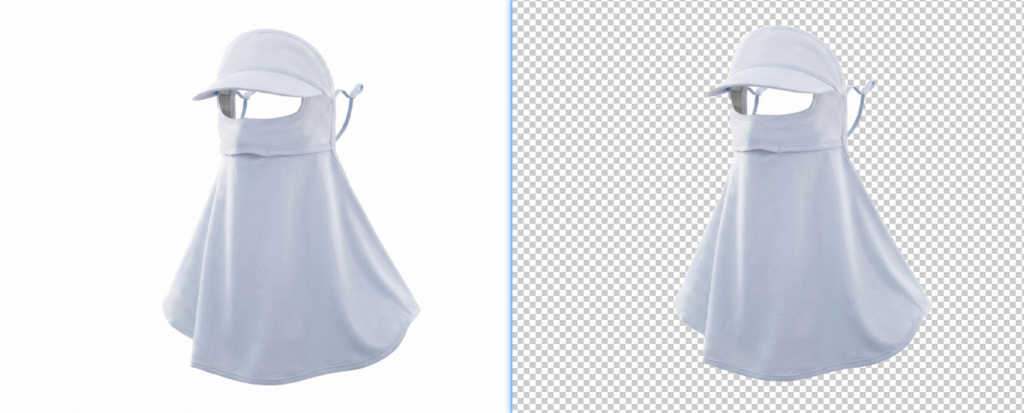
Method 3: Psaide AI Background Removal – Best for Beginners
Psaide’s AI cutout tool automatically recognizes subjects and removes white backgrounds accurately with clean edges.
Step 1: Open the image in PS
Open your white‑background image in PS and duplicate the layer.
Step 2: Open Psaide → Background Removal
Launch the Psaide plugin in PS and select the Background Removal function.
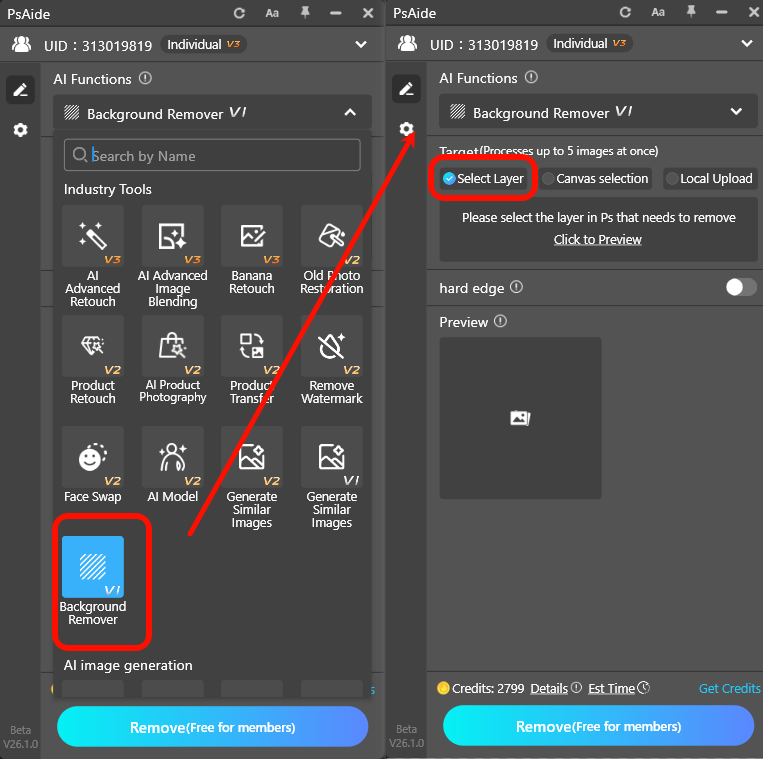
Step 3: One-click generate transparent background
Select the layer and click Generate.
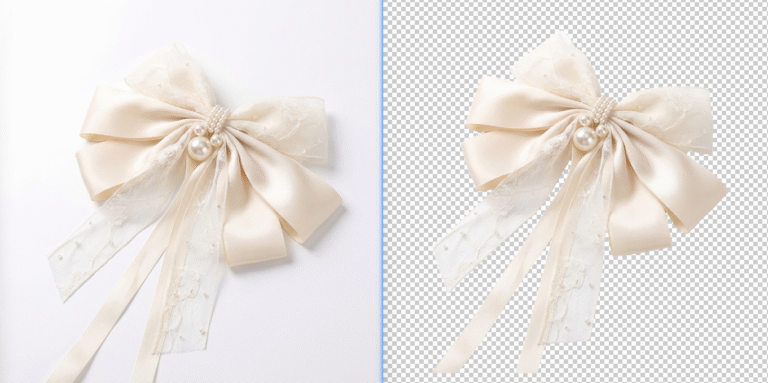
AI removes the background in 10 seconds, giving a clean transparent layer with sharp edges.
Save as PNG for direct use.
Core Comparison
- PS Quick Selection: Basic but limited, messy edges.
- PS Color Range: More accurate but complex and slow.
- Psaide AI Removal: One-click, fast, clean edges, works for all white backgrounds, zero skills needed.
Make any white background transparent easily in PS with Psaide AI Background Removal — clean, fast, professional.
Download link

https://psaide.com/?sfrom=A86R4u
Invitation Code: A86R4u