Table of Contents
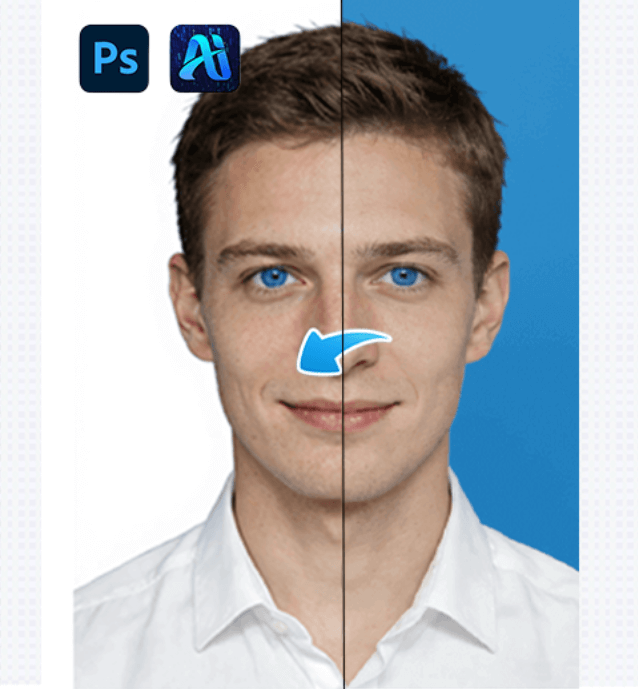
Anyone who edits ID photos knows how painful background replacement can be. Manually cutting out hair, refining edges, and matching a new background often takes over an hour. Even after all that work, the result may still look unnatural—either the hair edges appear rough, or the subject looks completely separated from the background.
This kind of “ID photo background replacement frustration” is something many retouchers struggle with.
Everything changed after discovering PsAide’s Banana AI retouching feature. When used together with Photoshop, Banana combines AI image processing with intelligent edge refinement. With just three simple steps, you can change the background of an ID photo—while keeping even fine hair details natural and well blended.
Tool Resources(Nano banana)
Download PsAide:
https://psaide.com/?sfrom=ZfhxUK
Quick Video Tutorial:
https://www.youtube.com/@psaidexl/shorts
1. Method One: Manually Change the ID Photo Background in Photoshop
This is the traditional manual method in Photoshop.
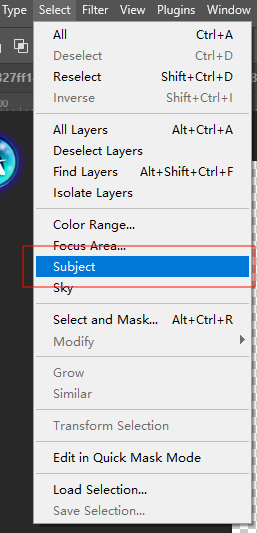
(1)Import the ID photo into Photoshop
①Open the ID photo
② Go to Select → Subject
③ Duplicate the background layer and add a layer mask
(2)Add a new background color
① Create a Solid Color Fill Layer with the required background color
② Place the color layer below the cut-out subject

This method works, but refining hair edges and matching the background often requires significant time and experience.
2. Method Two: Change the ID Photo Background with PsAide Banana
This method uses PsAide’s Banana AI retouching feature, which is designed to simplify complex background replacement tasks inside Photoshop.
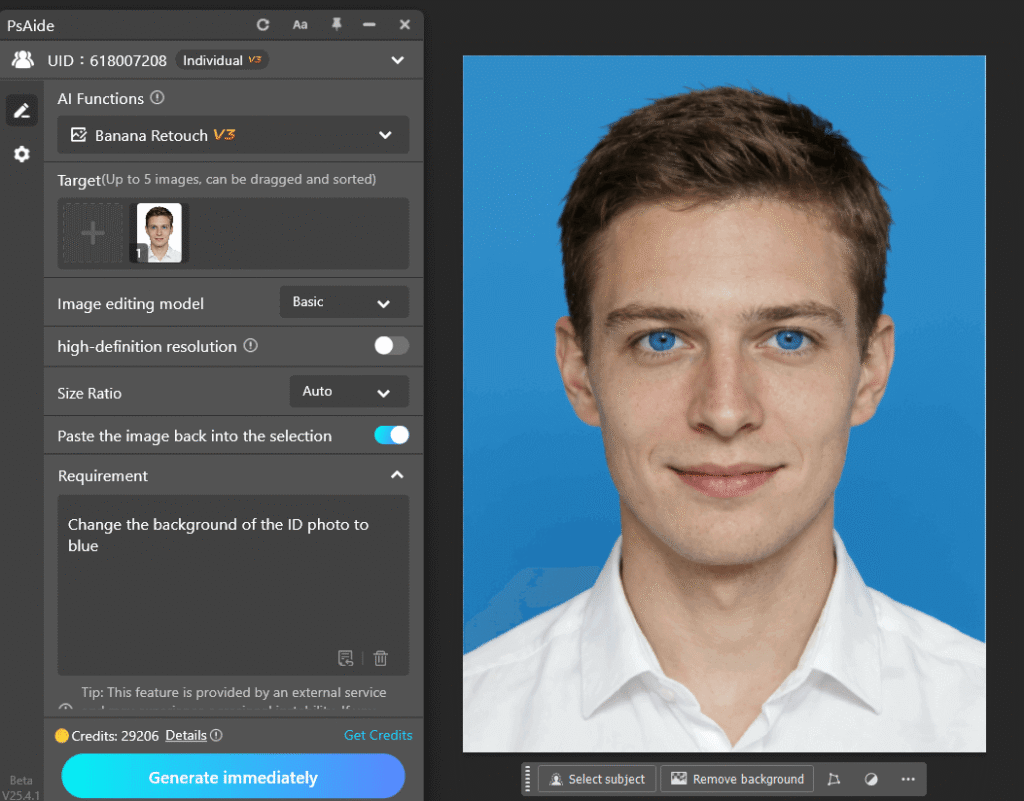
(1)Open the ID photo and select Banana Retouch
①Open the ID photo in Photoshop
② Open the PsAide panel on the right
③ Select Banana Retouch
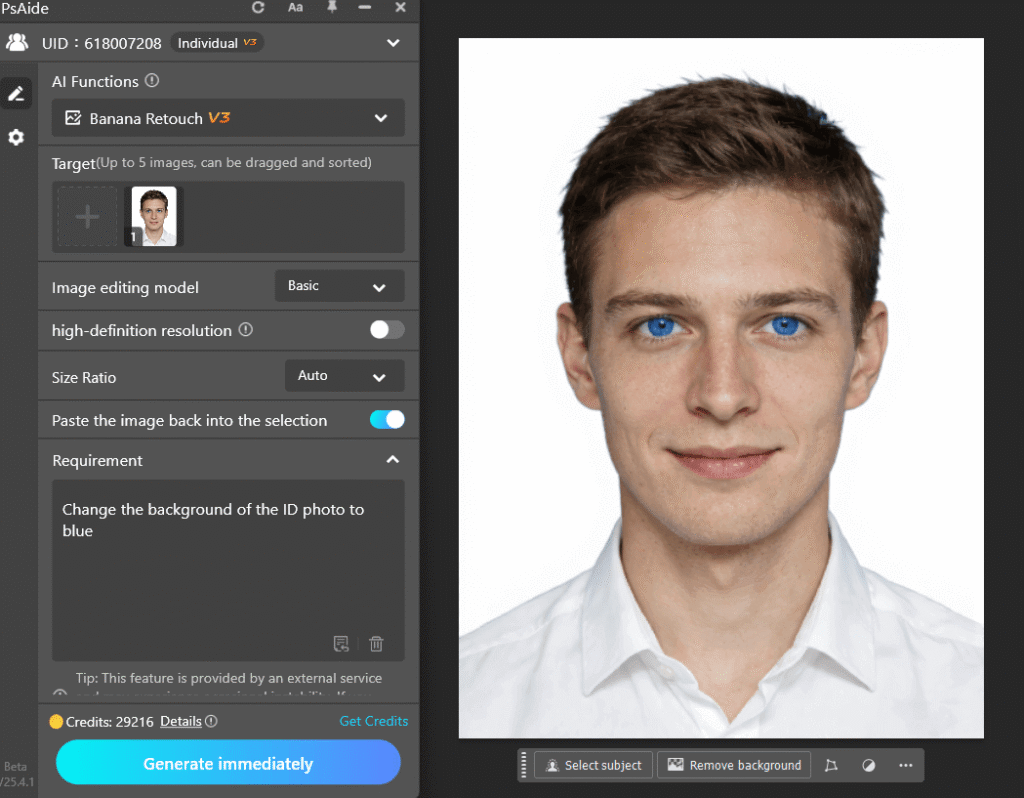
(2)Enter a prompt and let AI handle it
① In the input box, enter a prompt such as:
“Change the background of the ID photo to blue”
② Banana AI automatically recognizes the subject and background
(3)One-click generation with automatic blending
① Click Generate
② Within seconds, Banana replaces the background
③ The subject and new background are automatically blended
④ Hair edges remain clean and natural
⑤ The result is inserted directly into the Photoshop document and ready for export
3. Who Is Banana Retouch Suitable For?
(1)Professional retouchers
Produce multiple ID photos quickly and improve workflow efficiency
(2)Office workers and students
Save money by changing ID photo backgrounds without visiting a photo studio
(3)Photoshop beginners
No advanced masking or selection skills required
4. Final Thoughts
After using PsAide’s Banana feature, changing ID photo backgrounds is no longer stressful. What used to take hours can now be done in minutes, with results that often look better than those from traditional photo studios.

Download Link: https://psaide.com/?sfrom=ZfhxUK
Invitation Code: ZfhxUK
Install it, follow the tutorial, and save your time for more important work. Share it with other retouchers and say goodbye to background replacement burnout.