Table of Contents
Traditionally, this requires meticulous work with Photoshop’s Transform, Warp, and Perspective tools to manually distort the ad to match the screen’s curve and viewing angle. Even then, matching the scene’s lighting, reflections, and making it look naturally integrated is difficult and time-consuming.
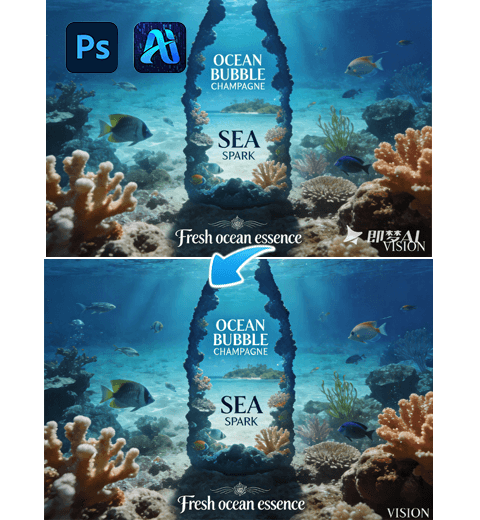
This tutorial demonstrates how to use Nano Banana in Photoshop to solve this problem intelligently. We’ll use a simple color-marking technique to guide the AI, allowing it to handle the complex perspective distortion and lighting matching automatically, creating a photorealistic composite in minutes.
1. What You’ll Need:
- Adobe Photoshop with the PsAide plugin.
- Click to Download
- Image 1: Your advertisement graphic.
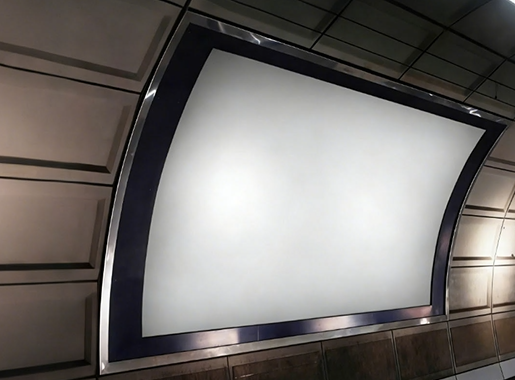
- Image 2: Your background photo of a subway station with a curved screen.
- 2-3 minutes of time.
2. The Process: 3 Steps to a Perfect Composite
Step 1: Prepare & Guide the AI
Open both your advertisement graphic and subway scene in Photoshop. In the subway photo, identify the target screen. Use the Rectangle Tool to draw a shape roughly over the screen area. Right-click the shape and choose “Warp” or “Distort.” Manipulate the corners to match the screen’s perspective as closely as you can—this doesn’t need to be perfect, but it gives the AI a crucial spatial guide. With the shape active, fill it with a solid, bright red color (e.g., RGB: 255, 0, 0). This red area acts as a clear, high-contrast target, telling the AI: “Replace this specific shape with my ad.“

Step 2: Command the AI with Context
In the PsAide panel, launch Nano Banana.Upload your two prepared images in this specific order:
- Image 1: Your advertisement graphic.
- Image 2: Your subway scene with the red-marked screen.
In the text prompt box, enter a clear, instructional command:
“Paste Image 1 into the red rectangular screen in Image 2. Match the perspective, lighting, and screen curvature realistically.”

Step 3: Generate the Integrated Result
Click “Generate.” The Pro version’s advanced AI will now process the request. It performs several key tasks:
- Perspective & Distortion: It analyzes the red shape’s warping in the 3D space of the photo and applies an identical distortion to your flat ad graphic.
- Lighting Integration: It samples the lighting and color tone from the scene and adjusts the ad’s brightness, contrast, and color temperature to blend in.
- Edge Blending: It softens and blends the edges of the ad to match the screen’s bezel or environment.
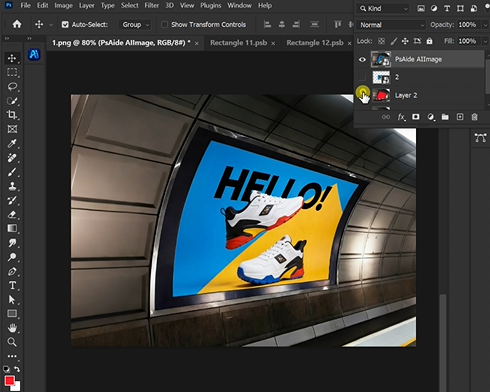
Within 30-60 seconds, you’ll have a new image where your advertisement appears naturally displayed on the curved subway screen, as if it was part of the original photograph.
3.Why This Method is Superior
- Saves Time: Bypasses manual warping and trial-and-error lighting adjustments.
- Intelligent Context: The Pro version understands “screen,” “perspective,” and “curvature” in the context of the photo.
- Realistic Results: Achieves a level of integration that is very challenging manually, especially for complex curves.
Conclusion
By using Nano Banana Pro with strategic color marking, designers can quickly create highly convincing advertising mockups. This technique transforms a technical, manual task into a guided AI process, enabling rapid visualization of designs in real-world environments with stunning realism.uce professional product images in seconds rather than hours.
Download link
https://psaide.com/?sfrom=A86R4u
Invitation Code: A86R4u