Table of Contents
For anyone needing to update ID photo backgrounds—whether for visa applications, job resumes, or student IDs—manual background removal in Photoshop is a frustrating and time-consuming task. Traditional methods like the Pen Tool or Quick Selection Tool require precise outlining of the subject’s edges, especially tricky for hair or collars. Even small mistakes lead to jagged edges, and replacing the background often results in mismatched tones that look unprofessional. This is where PsAide’s Background Remover comes in, enabling users to remove backgrounds and change colors in just 30 seconds with AI-powered efficiency in Photoshop.
1.Key Distinction: Manual Editing vs. PsAide Background Remover
Manual Photoshop ID photo editing demands advanced skills to avoid edge distortion and color mismatch, taking 15+ minutes per photo. PsAide’s Background Remover, by contrast, uses AI to automatically identify the subject, remove backgrounds cleanly, and preserve fine details like hair strands—all in seconds, with zero professional skills required, achieving the 30-second fast editing goal.
2.3-Step Guide to Remove ID Photo Background & Change Color
Follow these simple steps to get a perfect, customizable ID photo in Photoshop quickly:
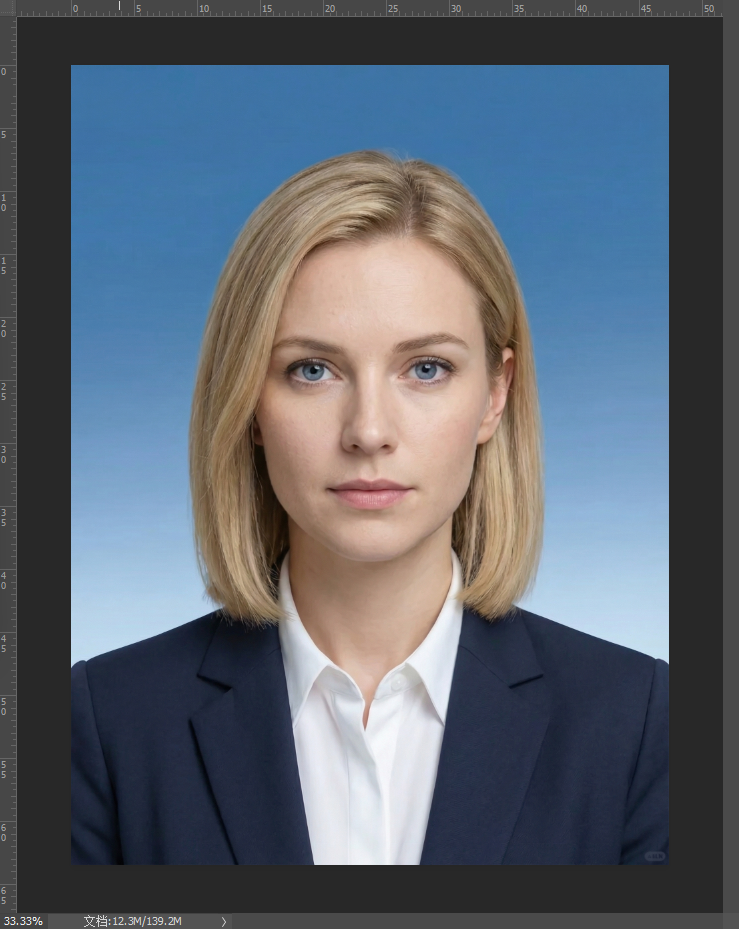
- Open Your ID Photo in Photoshop: LaunchPhotoshop and import your ID photo. Ensure the image is well-lit with clear subject edges for optimal AI recognition.
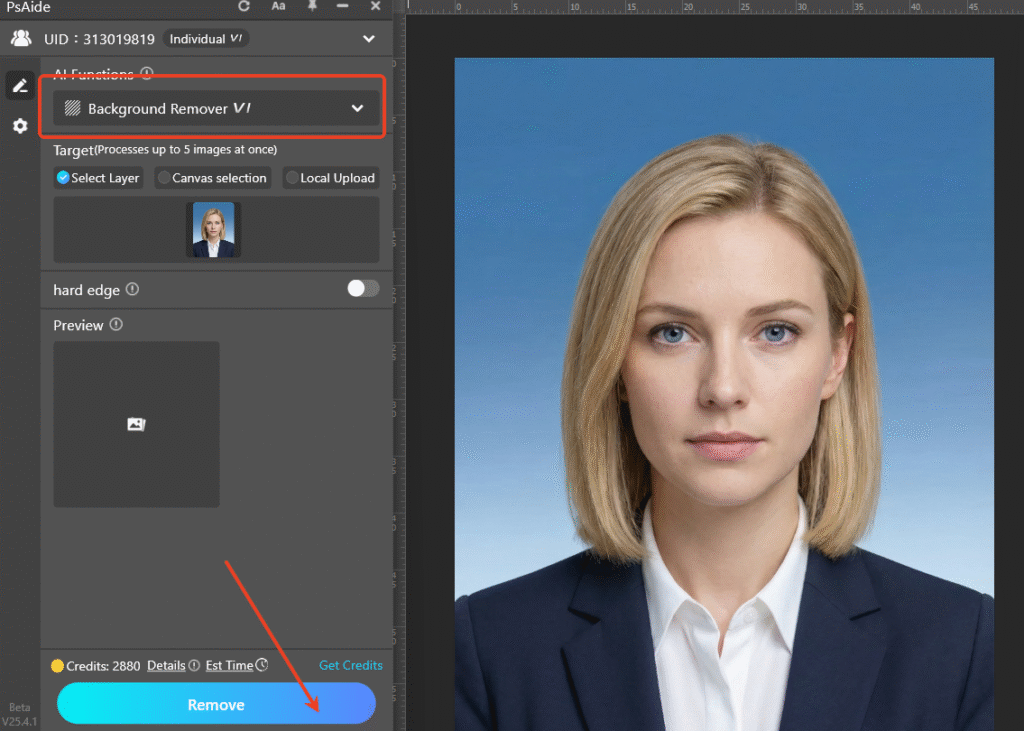
- One-Click Background Removal with Background Remover: Install the PsAide plugin, then navigate to the plugin menu and select Background Remover. Click “Select Entire Image” to let the AI detect the subject, then hit the “Remove” button. The tool will instantly erase the original background, leaving a high-quality transparent ID photo layer.
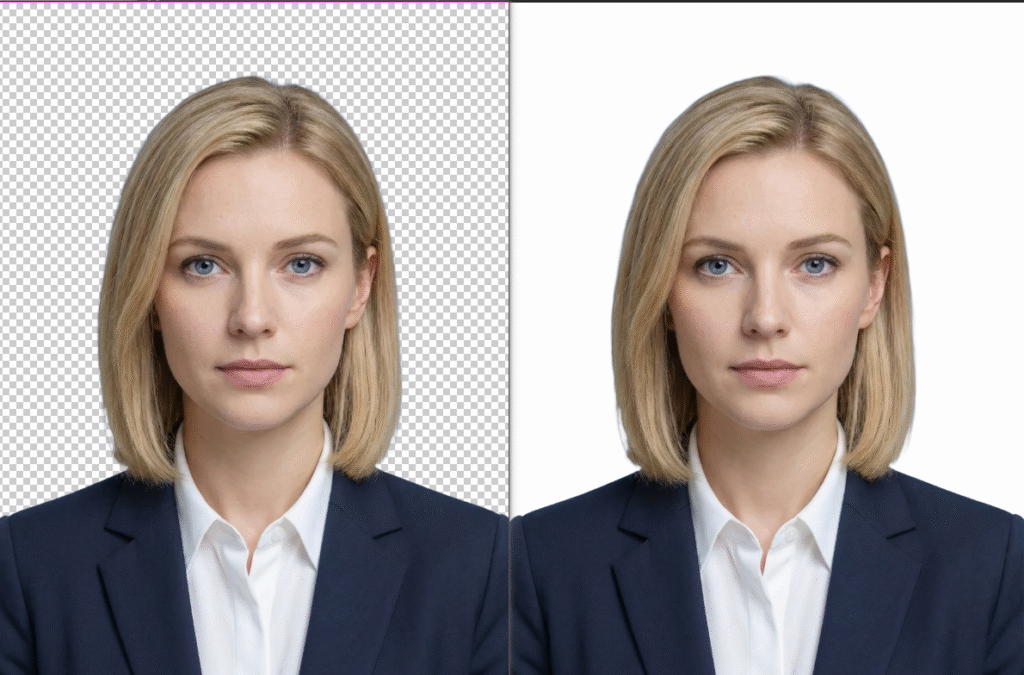
- Add Desired Background Color: With the transparent layer selected, create a new layer beneath it in Photoshop. Fill this layer with your required color—red for official documents or white for casual applications. Adjust layer opacity if needed, then save the final image.
3.Summary & Selection Recommendations
- For fast (30s), professional ID photo edits: Choose PsAide’sBackground Remover—the most efficient solution for one-click transparency and background replacement in Photoshop.
- For minor tweaks: Use Photoshop’s built-in color adjustment tools to refine the background tone for a perfect match.
Say goodbye to tedious manual editing that takes minutes. PsAide’s Background Remover simplifies ID photo background changes into a 30-second, three-step process, delivering studio-quality results every time. Try it today to streamline your Photoshop ID photo editing workflow!
Download link
https://psaide.com/?sfrom=A86R4u
Invitation Code: A86R4u