Table of Contents
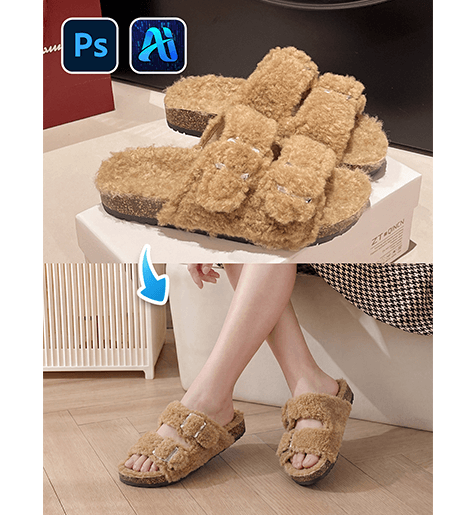
Removing unwanted objects is a high-frequency demand in daily image processing—whether it’s messy passers-by in landscape photos, extra clutter in product images, or irrelevant background elements in portraits, precise removal without damaging the original image quality is essential. However, traditional PS methods for object removal often come with tedious operations, obvious traces, and broken background textures, which are especially hard for beginners to master. Below are 2 traditional PS removal methods, followed by the more efficient Psaide Nano Banana Pro solution to easily solve the problem of “removing unwanted objects”.
Method 1: PS Patch Tool – For Small, Simple Unwanted Objects
Ideal for removing small-scale unwanted objects (e.g., tiny clutter, a single passer-by) against simple background textures. The operation is basic but requires careful adjustments.
Steps:
- Open the image in PS and press Ctrl+J to duplicate the background layer to protect the original from accidental edits.
- Select the Patch Tool (long-press J to switch), set it to Source mode in the options bar, and outline the unwanted object (follow the contour closely to minimize extra background selection).
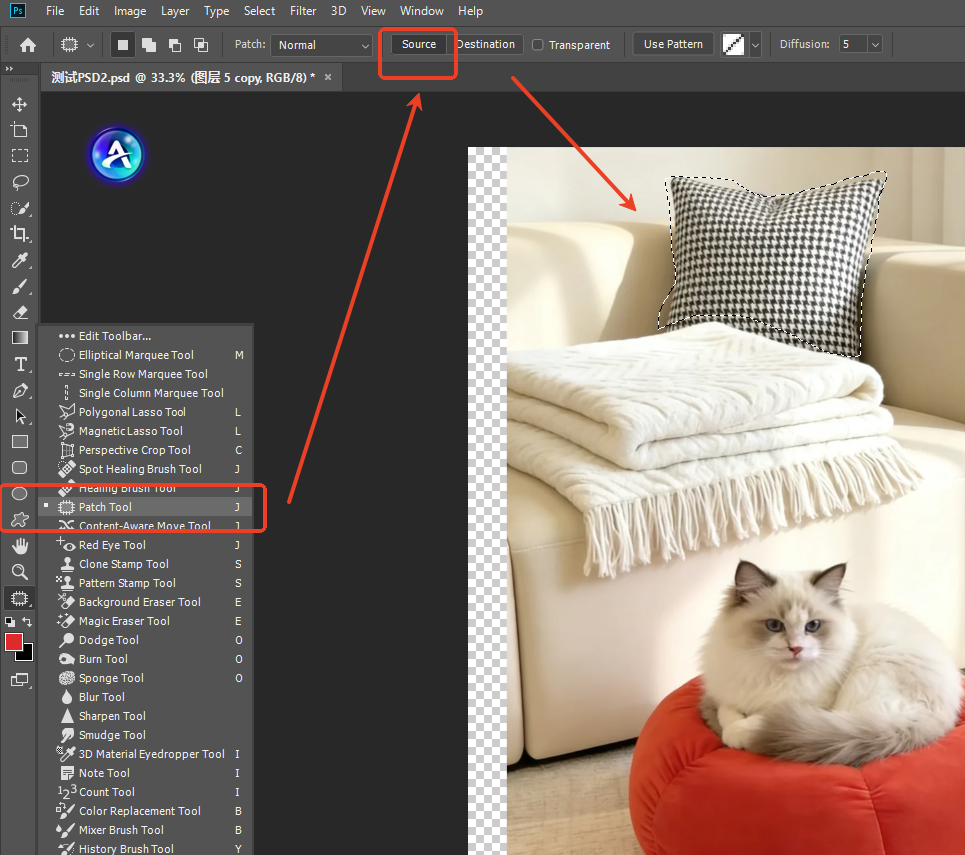
- Click and drag the selected area to a nearby similar background area (e.g., the ground or a wall), then release the mouse—PS will automatically fill the selected area with the texture from the target background.
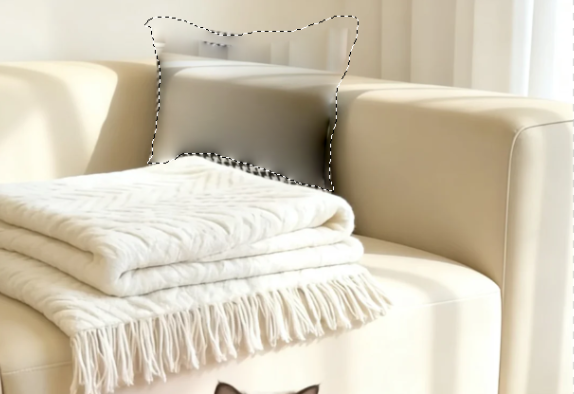
- Zoom in on the image to 200%, fine-tune the edges with a low-hardness Brush Tool to erase filling traces. If texture misalignment occurs, use the Clone Stamp Tool to sample the surrounding background and touch up the area to complete the removal.
Method 2: PS Content-Aware Fill – For Medium-Scale Unwanted Objects
Slightly more efficient than the Patch Tool, suitable for removing medium-scale unwanted objects but delivers poor results in complex scenes.
Steps:
- Open the image in PS and duplicate the background layer.
- Select the Lasso Tool (shortcut L) and precisely outline the unwanted object, ensuring full coverage of the area. For imprecise edges, go to Select > Modify > Feather and set the feather radius to 1-2 pixels.
- Right-click the selection, choose Fill, select Content-Aware in the pop-up window, set Structure to 5-6 and Color to 3-4, then click OK.
- After filling, check the background transitions. If texture repetition or color deviation occurs, touch up the area point-by-point with the Healing Brush Tool, and fine-tune the local brightness with the Curves Tool to ensure seamless blending with the original image.
Method 3: Psaide Nano Banana Pro – Top Choice for Unwanted Object Removal
Unlike traditional PS methods, Psaide’s built-in Nano Banana Pro leverages an AI intelligent background reconstruction algorithm, perfectly avoiding pain points like visible traces and messy textures. No complex manual touch-ups are needed—achieve seamless removal of unwanted objects (passers-by, clutter, etc.) in just 3 steps.
Step 1: Mark the Unwanted Area in PS
Launch PS, click File > Open to import the image, and press Ctrl+J to duplicate the background layer. Select the Lasso Tool (shortcut L) on the left, precisely outline the unwanted object (e.g., a passer-by) and follow the contour closely. After selection, press ALT+DEL to fill the area with red, clearly marking the region for removal to enable accurate AI recognition.

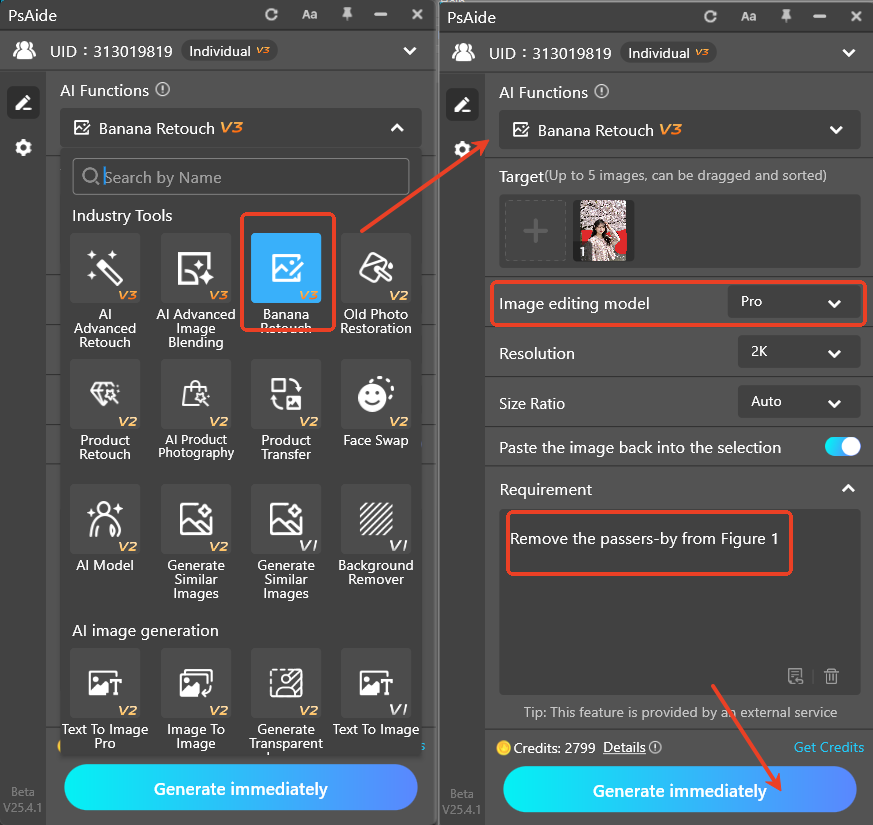
Step 2: Launch Nano Banana Pro and Set the Prompt
Locate the installed Psaide plugin panel in PS (compatible with PS CC2015+, Windows & Mac), expand the function list, click Nano Banana, and select the Pro Version (boosts removal precision, optimizes background reconstruction, and prevents visible traces). Upload the red-marked image, then enter the precise prompt in the text box: “Remove the passers-by from Figure 1”—ensuring the AI executes the removal accurately while preserving the original background texture.
Step 3: One-Click Generate and Preview the Seamless Result
Confirm the uploaded image and prompt are correct, then click the Generate button on the plugin panel. The AI completes processing in 10-15 seconds, automatically identifying and removing the red-marked area (e.g., passers-by) while intelligently reconstructing the background texture for seamless blending with the original. PS will automatically create a new processed layer—preview the effect: the unwanted object is completely removed, the background texture and color blend perfectly with the original image with no traces or broken textures, ready for direct use with no further PS fine-tuning.

Core Comparison of the 3 Methods
- PS Patch Tool: Basic operation but narrow applicability and prone to visible traces
- PS Content-Aware Fill: Moderate efficiency but easy to cause distortion in complex scenes, requiring repeated fine-tuning
- Nano Banana Pro: One-click operation, ultra-efficient, suitable for all scenarios, seamless removal with zero learning curve. It solves all core pain points of traditional PS methods and easily removes any unwanted objects like passers-by and clutter.
Pro Tips
- When marking the red area, follow the contour of the unwanted object closely to avoid covering too much of the useful original background.
- Import high-definition images to help the AI reconstruct background textures more accurately.
- For removing multiple passers-by, outline and fill each with red separately—one click of Generate removes all at once.
Struggling with “how to remove unwanted objects in PS” and tired of the tedious operations and visible traces of traditional PS methods? Try PS paired with Psaide’s Nano Banana Pro! No professional retouching skills are needed—achieve seamless removal of unwanted objects in 3 steps, balancing efficiency and professionalism. Beginners can master it quickly and easily handle all types of image processing needs.
Download link

https://psaide.com/?sfrom=A86R4u
Invitation Code: A86R4u