Table of Contents
If you use Photoshop regularly, you’ve probably faced this problem before:
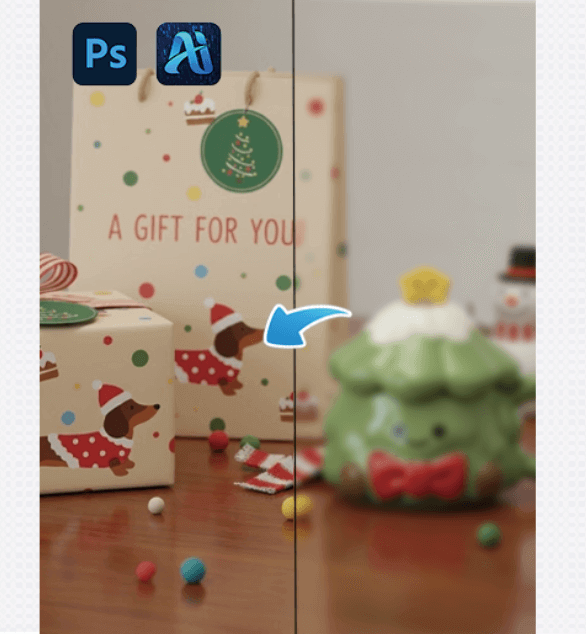
An image that isn’t small, but still looks soft and blurry.
Sharpening makes it noisy, enlarging doesn’t help, and doing nothing feels like a waste.
These “almost usable” images are actually the hardest to deal with.After trying many traditional methods, I started using PSAide’s Nano Banana Pro, built directly into Photoshop—and that’s when blurry images became manageable again.
1.Why Traditional Photoshop Tools Struggle with Blur
Photoshop is excellent at adjusting images, but not at rebuilding missing detail:
- Sharpening only enhances what already exists
- Upscaling stretches pixels instead of restoring them
- High Pass often creates harsh, artificial edges
When real detail is missing, manual tools hit their limit.
That’s exactly where AI restoration makes a difference.
2.My Real Photoshop Workflow for HD Restoration
(1) Light Pre-Processing in Photoshop
Before using AI, I always do minimal prep:
- Adjust brightness and contrast
- Avoid heavy sharpening
- Make sure the image structure is clear
The goal is clarity, not sharpness.
(2) Open PSAide and Select Nano Banana Pro
Inside Photoshop, launch the PSAide plugin and choose Banana retouch, then import the image.
The interface is clean and familiar—no complex settings, no learning curve.
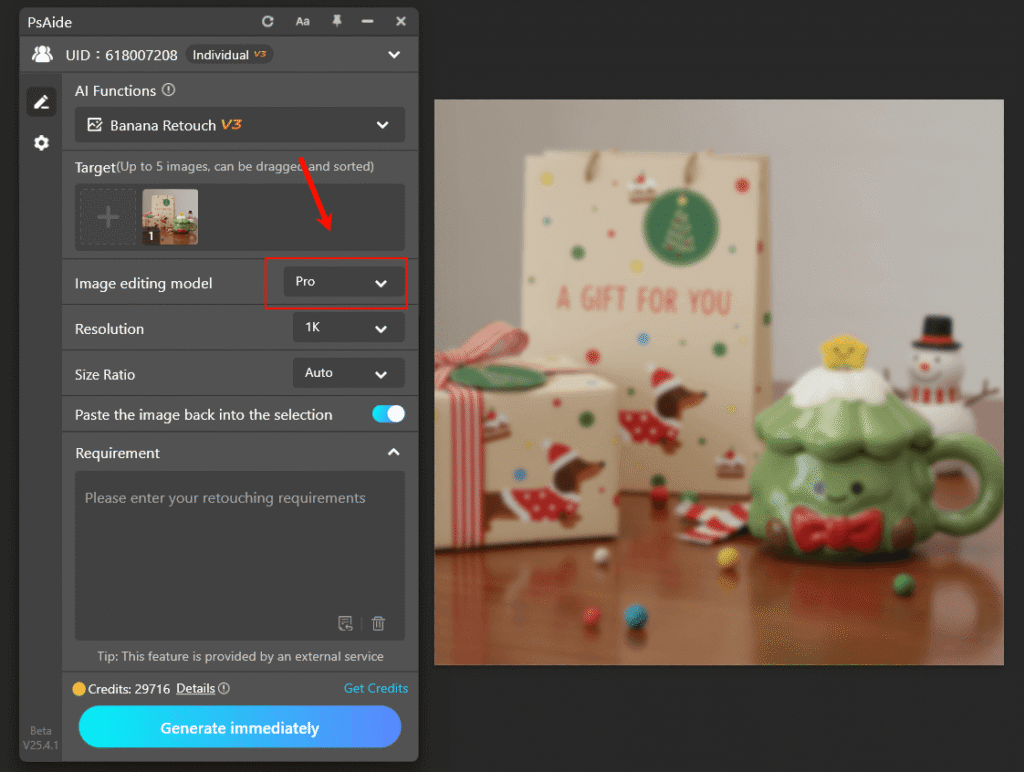
(3) Generate the HD Version
enter the promt “HD restoration” and click Generate.
Nano Banana Pro analyzes the content and restores detail intelligently, instead of simply enlarging pixels.
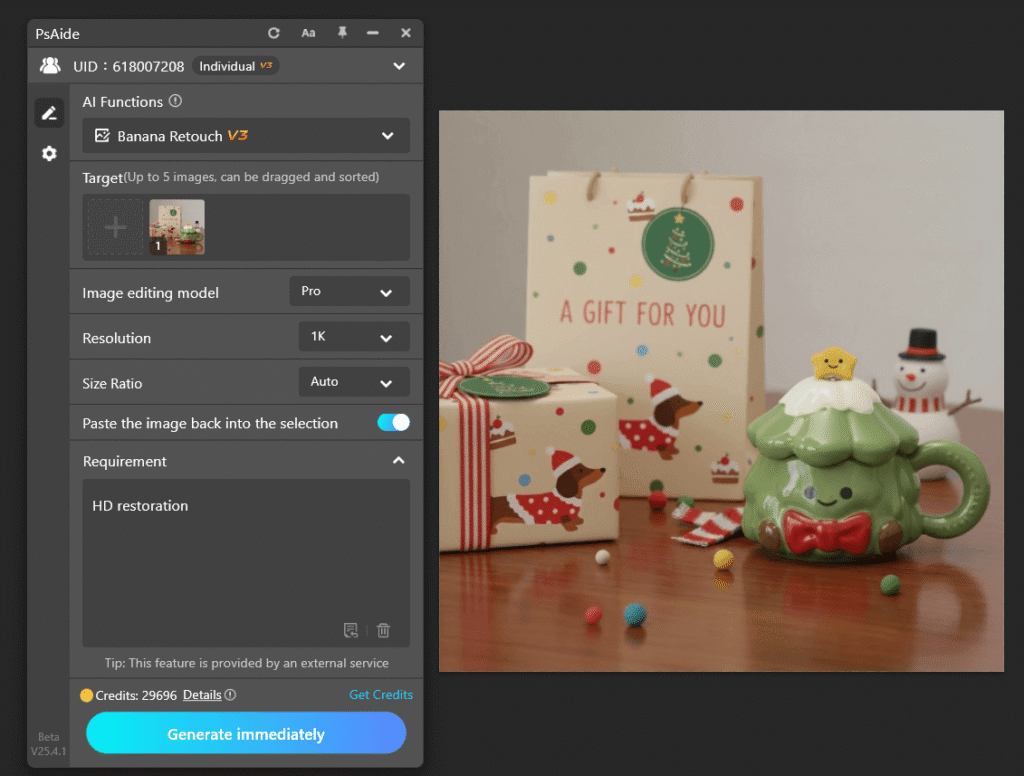
In most cases, the result already looks noticeably clearer and more natural.
(4) Final Touch-Up in Photoshop
After AI restoration, I return to standard PS tools:
- Use Curves or Levels for tonal balance
- Apply very light sharpening only where needed
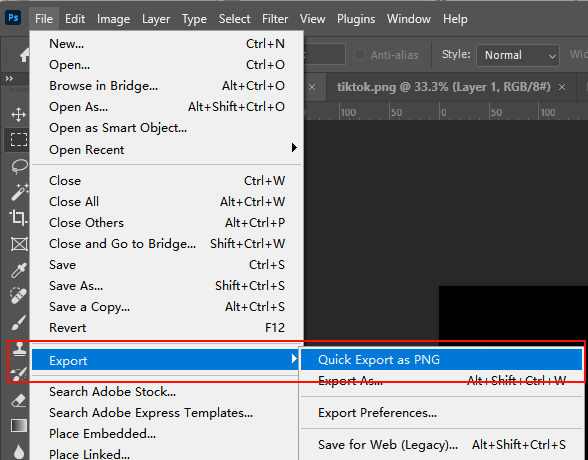
Then export as PNG or JPEG, ready for real use.
3.Why PSAide Makes Sense for Photoshop Users
- Works directly inside Photoshop
- No exporting, re-importing, or workflow breaks
- AI handles what Photoshop isn’t designed to do
Nano Banana Pro feels like a missing feature Photoshop should have had all along.
4.Final Thoughts
Blurry images don’t always mean unusable images.
With PSAide’s Nano Banana Pro, Photoshop users can finally restore clarity where traditional tools fall short—quickly, naturally, and without leaving their workflow.

If you work with images regularly and value efficiency, this is a tool worth trying.
Download Link: https://psaide.com/?sfrom=ZfhxUK
Invitation Code: ZfhxUK