Table of Contents
1. The Photo Restoration Challenge & AI Solutions
Q: Can AI really restore genuinely blurry or low-resolution photos?
A: Yes, through advanced upscaling and detail reconstruction. Traditional sharpening tools like Unsharp Mask or Smart Sharpen can only enhance existing pixels and often amplify noise. True HD restoration requires the AI to intelligently generate plausible, high-frequency details that were lost—like facial features in a portrait or texture in fabric.
Q: What’s the difference between simple sharpening and true HD restoration?
A: Sharpening increases edge contrast within the existing resolution. HD Restoration (or Super-Resolution) increases the image’s actual pixel dimensions and fills in new, contextually accurate details, effectively creating a higher-resolution version of the photo.
2. Why Nano Banana Pro Excels at Detail Reconstruction
The Pro version utilizes a sophisticated neural network trained on millions of image pairs (low-res and high-res). It doesn’t just guess; it recognizes patterns. For example, in a blurry portrait, it understands the typical structure of an eye, a mouth, or hair strands. It uses this knowledge to reconstruct these elements with enhanced clarity and appropriate texture, all while maintaining the photo’s original composition and color balance, preventing the artificial “over-sharpened” look.
3. What You’ll Need
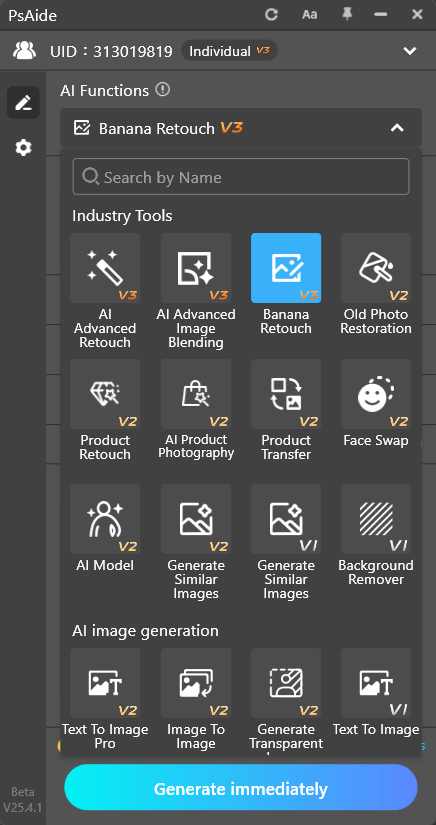
- Adobe Photoshop with the PsAide plugin installed.
- Click to get
- The blurry or low-resolution photo you wish to restore.

- Patience for a 60-90 second processing time.
4. The Three-Step HD Restoration Process
Step 1: Open Your Photo in Photoshop
Launch Photoshop and open the photo you want to restore. For the best possible outcome, start with the highest quality file you have (e.g., the original JPEG or RAW file), even if it appears blurry.
Step 2: Command the AI with Nano Banana Pro
In the PsAide panel, open Nano Banana and ensure the Pro version is selected. Upload your single image. In the text prompt box, use a clear and direct command:
“Perform high-definition restoration on the photo in Figure 1, enhancing details and clarity naturally.”
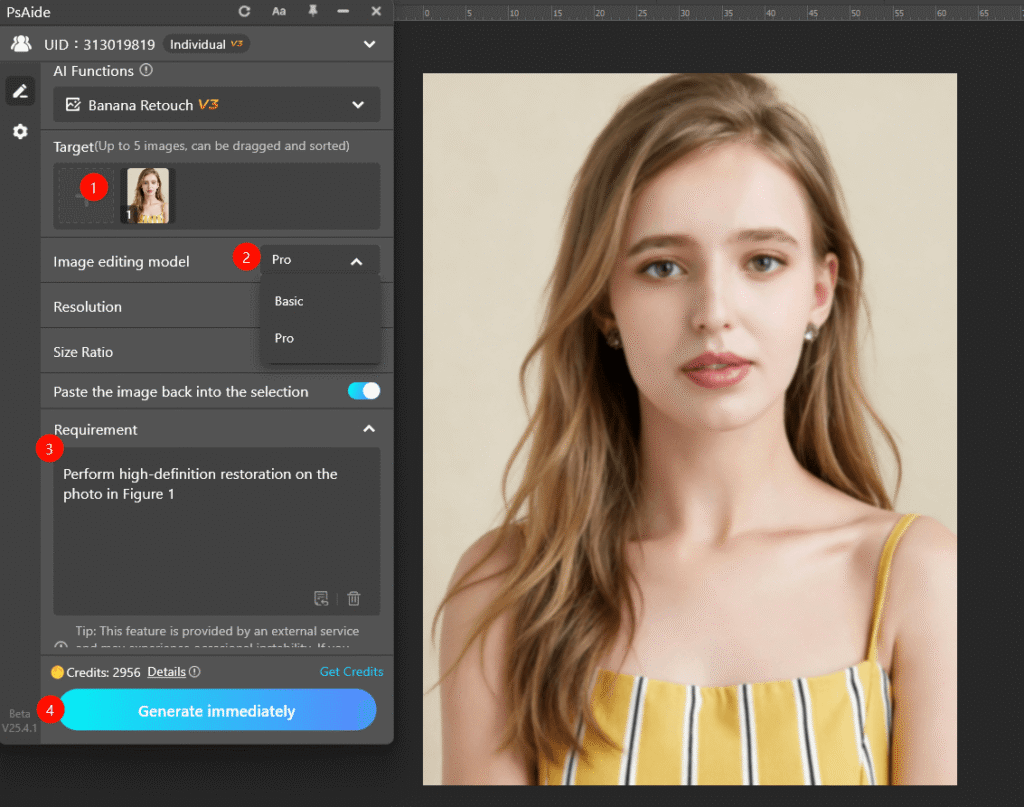
Step 3: Generate and Review the Enhanced Result
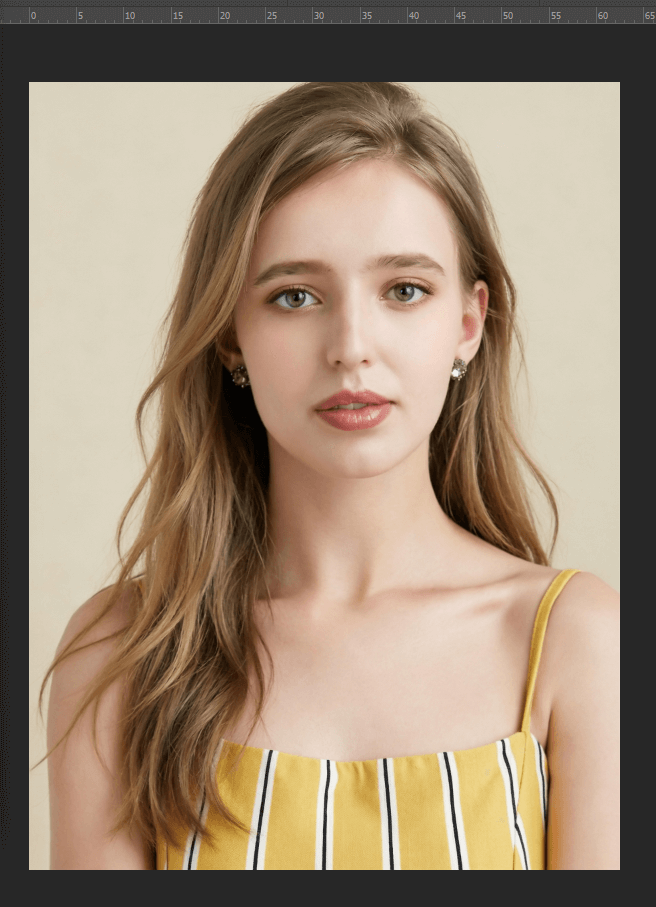
Click “Generate.” The AI will process the image, typically taking about a minute. It performs several tasks: upscaling the image resolution, analyzing and reconstructing blurred details (like facial features or text), reducing visual noise, and applying subtle sharpening to edges—all tailored to the content of your specific photo. The result is a new, cleaner, and more detailed version of your original image.
5. Practical Applications & Pro Tips
Use this for:
- Rescuing Old Digital Photos: Enhance early digital camera shots.
- Improving Smartphone Pics: Fix slightly blurry mobile photos.
- Preparing Images for Print: Increase resolution for physical prints.
- Archival Work: Improve the quality of scanned documents or historical digital files.
Pro Tips:
Iterate if Needed: If the first result isn’t perfect, try a more specific prompt, e.g., “Focus on enhancing facial details and skin texture in the HD restoration.”
Download link
https://psaide.com/?sfrom=A86R4u
Invitation Code: A86R4u
Click here to discover more usage tips and in-depth information on Nano Banana Pro!