Table of Contents
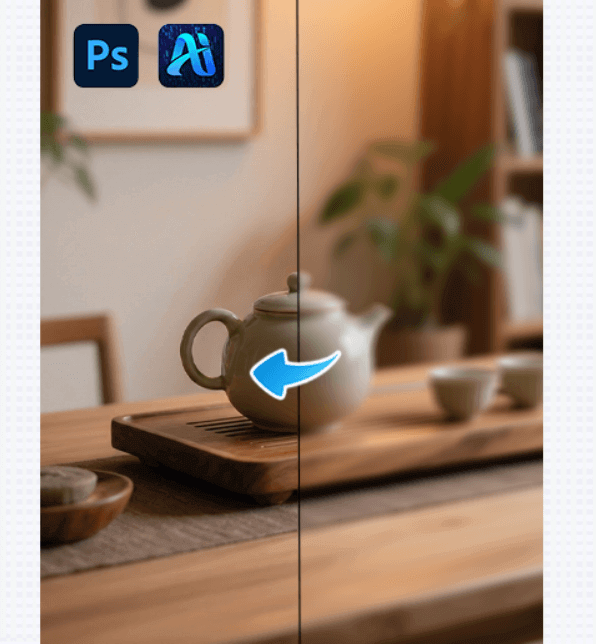
In design, e-commerce, and content creation workflows, HD restoration has become an essential technique for improving image quality. Whether you are restoring old photos, sharpening blurry images, or enhancing low-resolution assets, HD restoration plays a critical role in producing professional visuals.
However, traditional restoration methods in Photoshop often involve multiple steps and manual adjustments, which can be time-consuming and inefficient. To address this challenge, the Banana Retouch feature in the PSAide plugin offers a faster and more streamlined solution.
1.What Is HD Restoration?
HD restoration refers to the process of improving image clarity and enhancing visual detail. It typically includes:
- Increasing overall sharpness and clarity
- Correcting blur or low-resolution issues
- Enhancing texture and depth for a more realistic appearance
In Photoshop, HD restoration is rarely a single-click process. Instead, it usually requires a combination of tools and techniques to gradually refine the image.
2.Common HD Restoration Techniques in Photoshop
(1) Sharpening and Clarity Adjustments
Sharpening and clarity are fundamental steps in HD restoration. Sharpening enhances edge definition, while clarity improves midtone contrast and perceived detail.
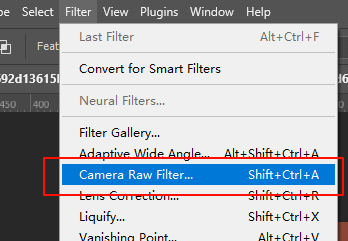
①Using Camera RawFilter:
- Clarity: Enhances overall depth and contrast
- Texture: Refines surface details while controlling noise
- Sharpening: Improves fine detail without excessive artifacts
This approach works well for images with mild blur.
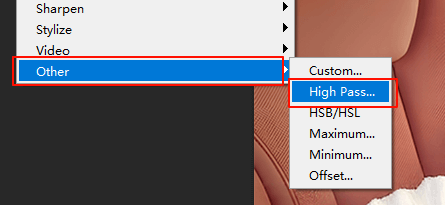
② High Pass Sharpening:
Using a High Pass layer with blending modes can effectively enhance detail, especially for product images or photos with clear edges.
(2) Local Detail Enhancement
For images with uneven blur, local restoration is often more effective. By using masks and retouching tools, you can enhance important areas without affecting the entire image.
This technique is particularly useful for:
- Product image detail enhancement
- Facial detail restoration in portraits
3.How to Use Nano Banana Retouch to restoration
Follow these three simple steps to restore image clarity:
(1)Open the PSAide Plugin
Launch the PSAide plugin inside Photoshop and enter the main feature panel.
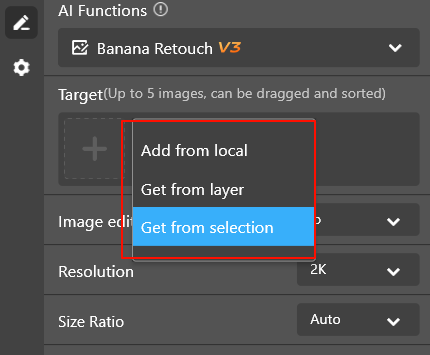
(2)mport the Image
You can import images in two ways:
①Canvas Selection: Select a specific area on the canvas for HD restoration
②Layer-Based Input: Apply restoration to the currently selected layer
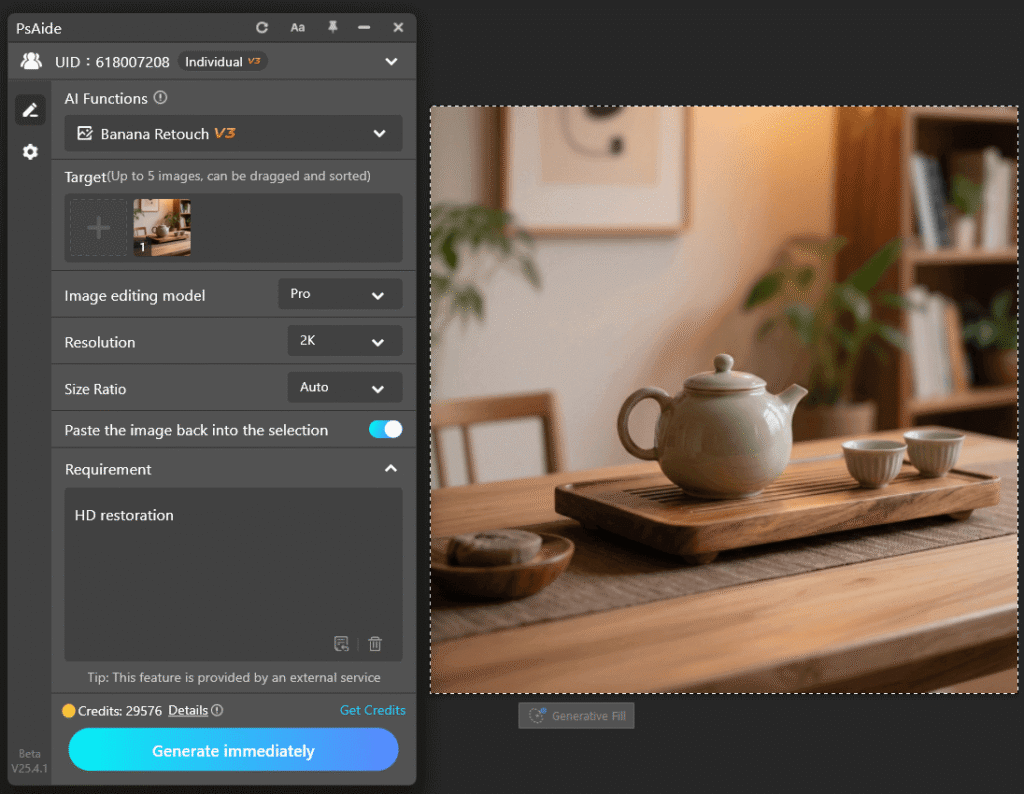
(3)Enter the Prompt and Generate In the prompt input field, enter:
HD restoration
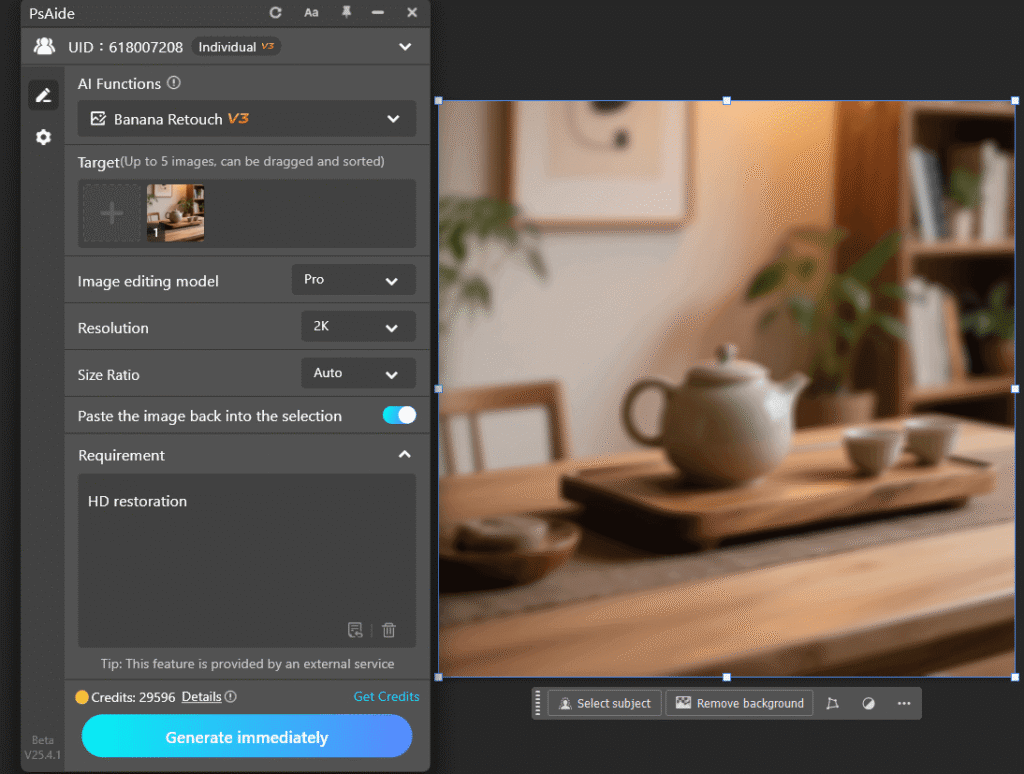
Click “Generate Immediately”, and the plugin will automatically call Nano Banana Pro to restore image clarity and produce a higher-definition result.
4.Why Choose Banana Retouch in PSAide?
Banana Retouch delivers significant efficiency gains for Photoshop users, especially those handling large numbers of images. Compared to traditional workflows, it offers several advantages:
(1)One-click HD restoration with no complex settings
(2)Time-saving, ideal for repetitive tasks
(3)Fully integrated into Photoshop, maintaining a smooth workflow without exporting or switching tools
For e-commerce product images or batch restoration tasks, Banana Retouch can dramatically improve productivity.
5.Conclusion
HD restoration is a foundational technique for improving image quality. With the Banana Retouch feature in the PSAide plugin, you can achieve one-click HD restoration without complex manual steps, greatly improving efficiency.

Whether you are working with old photos, low-resolution assets, or blurry product images, Banana Retouch helps you achieve clearer, more professional results. Combined with Photoshop’s native tools, HD restoration becomes faster, easier, and more accessible than ever.
Download Link: https://psaide.com/?sfrom=ZfhxUK
Invitation Code: ZfhxUK